3 Glamorous Smokey Eye Tutorials You Can Crack With Our Guide
Had enough of the basic makeup looks? This wedding season try something you’ve never done before with our easy smokey eye tutorial guiding you along the way.
With so many different kinds and styles of makeup looks coming up each day, it is tough to catch on to all the tricks and techniques with perfection. However, what does not change is the fact that every makeup look focuses on one thing in your face as the highlight of the makeup. Be it your eyes, your lips, or even your cheeks.
While each woman has her own take on what they like to be highlighted on their face, the fact is that there is a lot of scopes to play around with makeup when it comes to your eyes. While we truly believe that eyes come into focus or catch attention before anything else does and therefore it is extremely important to have your eye makeup game on point.
One of the trickiest looks that women are scared to try on their own is the smokey eye look. However, it really isn’t half as tough as it looks. Another myth about smokey eye is that it has to be all grungy and smudged, however, smokey eye can be done in various ways and not all need to be grungy or smudged.
To help our beautiful ladies ace the perfect smokey eye this wedding season, we’ve come up with a detailed but to the point smokey eye tutorial. Follow our smokey eye tutorial step by step and we promise to make you look like a million dollars.
Everyday Classic Smokey Eye Tutorial
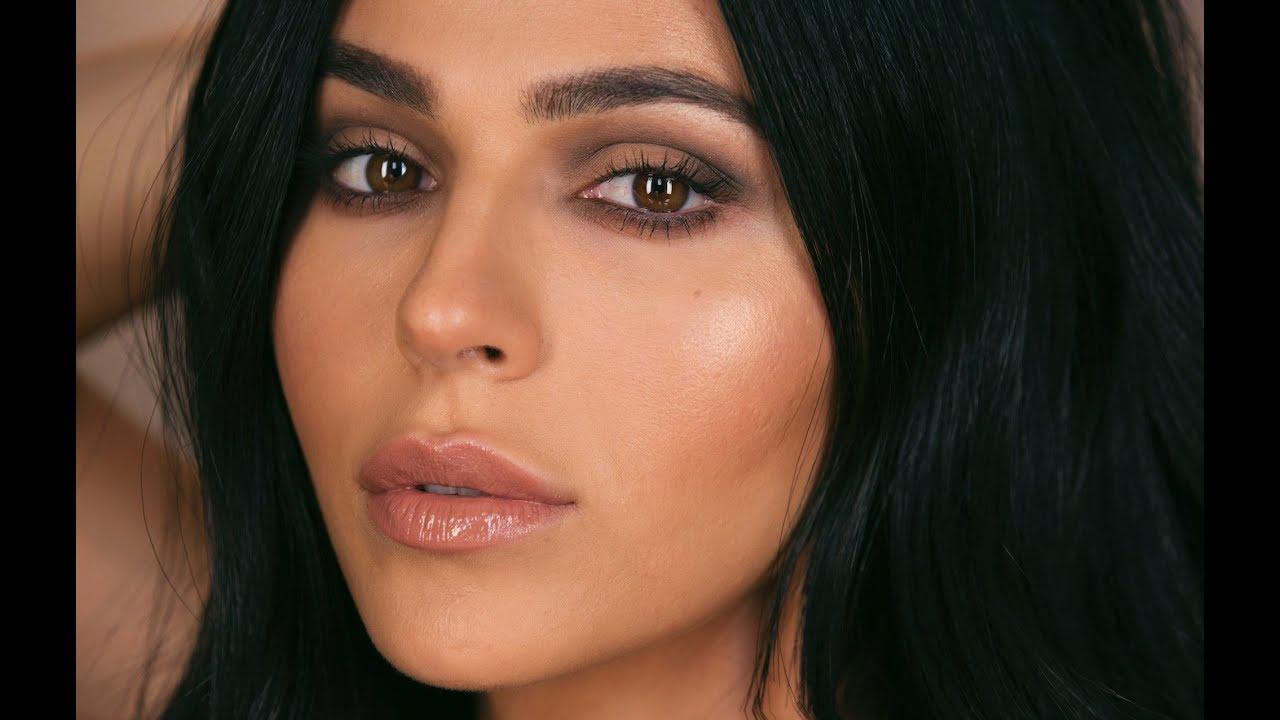
Image Courtesy: Teni Panosian
The everyday classic smokey eye tutorial is for the ladies that do not want an OTT eye makeup and prefer the softer and more subtle shades of the eye shadow. Follow our tutorial step by step to nail the smokey eye for a regular day.
Step 1: Start With a Primer
Primer is the double-sided tape that helps your eye shadow stay in place for hours after you’ve done your makeup.
Step 2: Create a Base
Choose a lighter shadow of your choice like a muted brown or a peachy tone and apply it all over your lid using a super fluffy blending brush.
Step 3: Sketch Out the Crease
Use a shadow that is two shades darker than your base colour or your skin, and create a crease by buffing the product along your socket line. This will effectively lift up the shape of your eye and open it up a lot more.
Step 4: Deepen the Corner
By using a flat brush, you need to now pat in colour on the outer corner of your eye keeping it tight at the V. Then you can use a smudge brush on your lower lash line and smoke out some more product to give it a cat-eye like definition.
Step 5: Brighten the lid
Now this one depends on where you’re using our smokey eye tutorial for. So if you wish to go a little glitterier then you can tap some shiny shadow from your middle finger on your tiny lids to maximise space and attract attention.
Step 6: Line the Upper Lashes
A thick smoked out black liner is what goes really well with the everyday smokey eye, however, if you’re wearing this look in the day time you can always go for a brown pencil instead of the black.
Step 7: Roll Out Some Mascara
The last step of the everyday smokey eye tutorial requires you to use mascara and make the lower lash look chunky while giving your look the extra oomph.
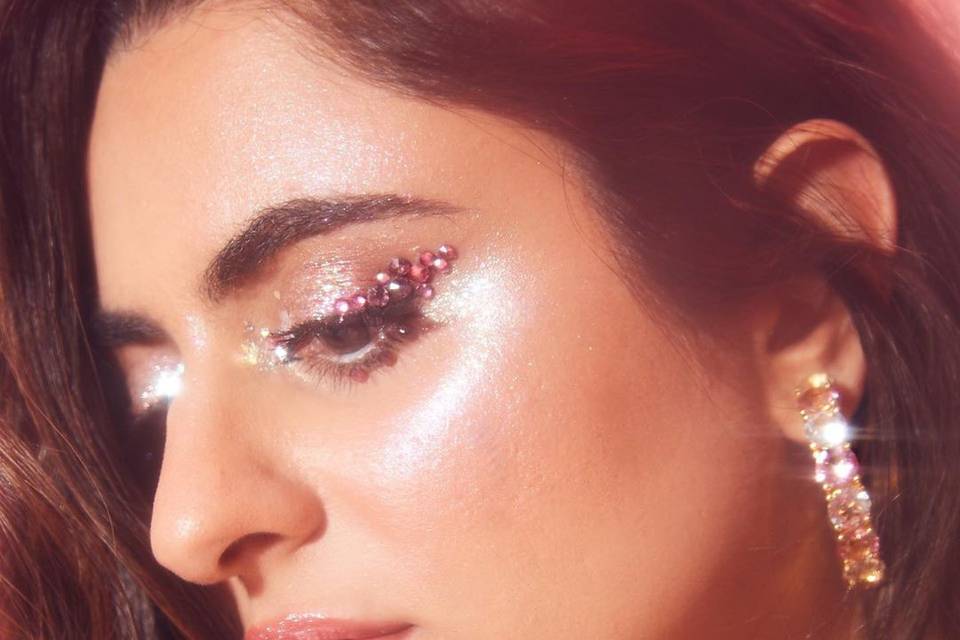
Metallic Smokey Eye Tutorial
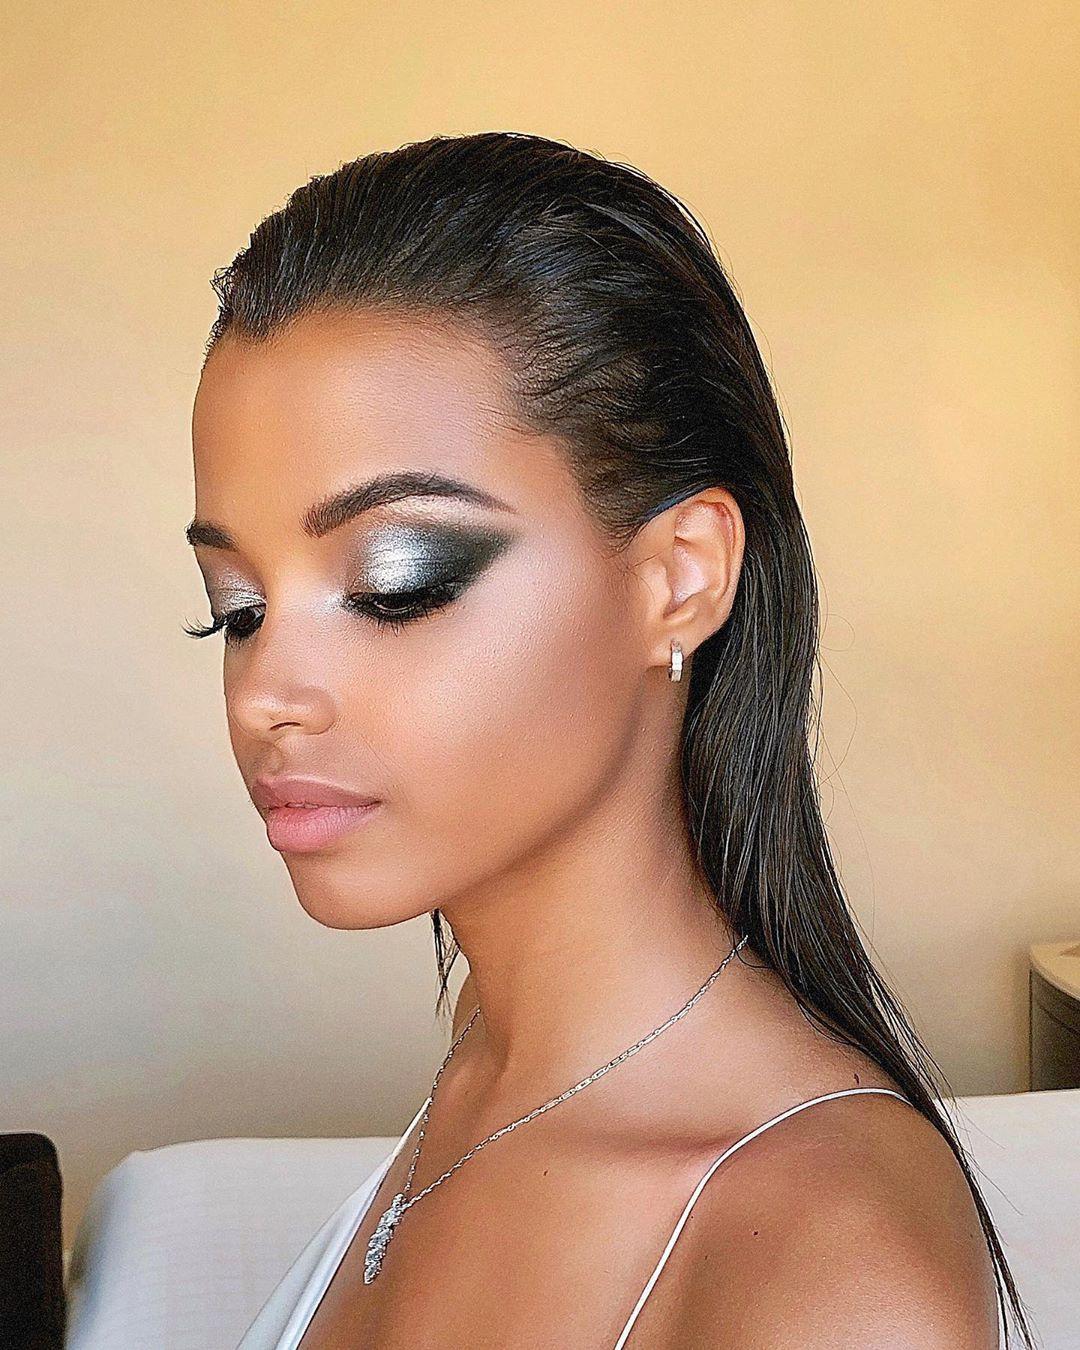
Image Courtesy: Miranda Laurenn
The metallic smokey eye tutorial is shinier and glitterier than the everyday smokey eye. It is perfect for a cocktail party or a reception night and goes well with your bridal gowns and sarees. Follow the steps perfectly to get the metallic eye makeup look that you’ve always wanted.
Step 1: Moisturise and Conceal
It is important to moisturise around your eye well before starting with the smokey eye tutorial and then conceal the area well to make it match the tone of your skin colour and then later set it with some loose powder.
Step 2: Pat some Eye Shadow
After you’ve moisturised and concealed, the metallic smokey eye begins with patting a little bit of metallic silver eye shadow in the inner corner of the eye.
Step 3: Darken the Shade
Next, you have to choose a darker eye shadow shade for the outer two-third area of the eye. Purplish grey or blackish silver are common choices made for a metallic smokey eye. Be careful to not take a lot of product on your eye shadow brush at once as you can always build up later if required.
Step 4: Blend the Two Shades
Use your ring finger now to blend the two shades of eye shadows so that the harsh edges can no longer be seen. Later use loose powder and define the brow bone.
Step 5: Fill the Lower Lash Line
Use the blackish silver or purplish silver to fill your lower lash line partially to give it a smokey look.
Step 6: Trace the Kohl
Use smudge-proof kohl to trace your upper lash line and wing it out a little on the ends if you want a dramatic look. Then use the same over your water line and finish the metallic smokey eye look by applying mascara on your eyelashes.
Grungy Smokey Eye Tutorial
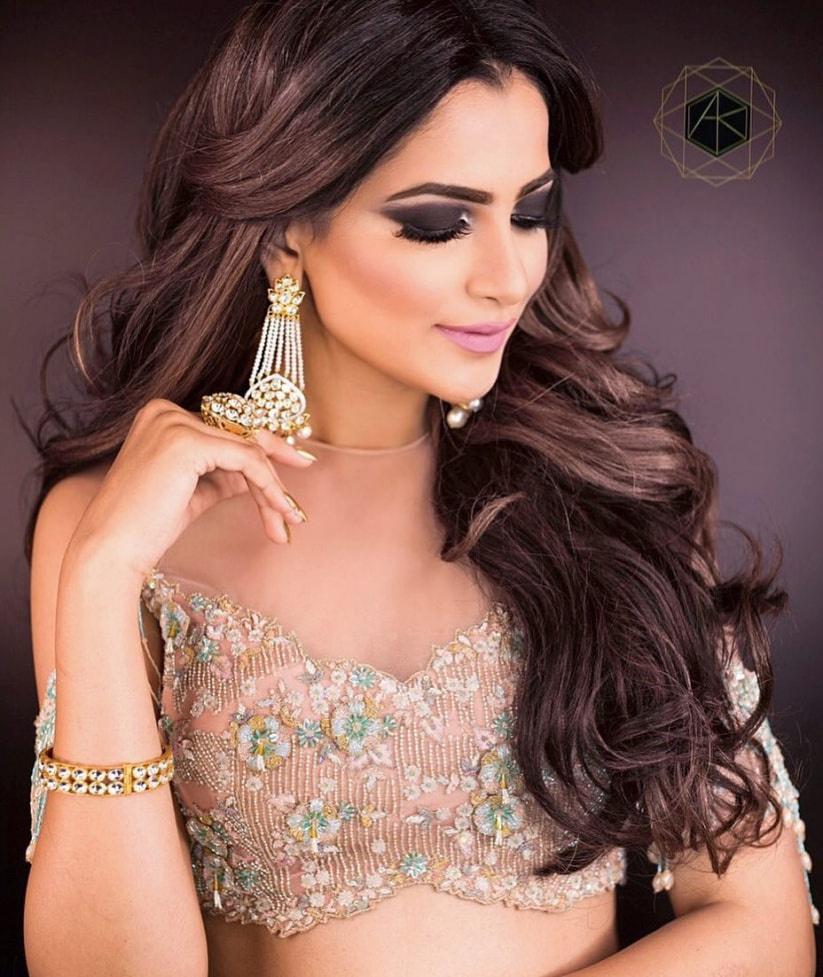
The grungy smokey eye look is bold and more in your face but wicked and still very appealing, especially for the millennial girls. It is the kind that they love rocking at parties because it goes well with their modern and contemporary fashion choices. Let’s look at a step by step break up f how to achieve a perfect grungy smokey eye look.
Step 1: Build the Brow
While applying moisturiser and primer are the perfect first steps for any eye makeup, filling in the brows with gel to make it look bushy and nice is key to achieving a perfect grungy smokey eye.
Step 2: Line the Upper and Lower Lash
Use black kohl to line your upper and lower lash line and you don’t need to be too perfect about it because it is going to be smudged later anyway. Black kohl works best for a grungy smokey eye, but you can also go for blue or brown depending on what you’re planning to wear with it.
Step 3: Smudge and Sketch
Take a smudge brush and smudge the kohl on your lower lash line. Then start sketching the shape of how you want your smokey eye to be on the upper lash line with the same kohl pencil. In the end, connect it to the lower lash line in the corner to create a wrapping smokey effect around the entire eye.
Step 4: Blend In Some Eye Shadow
Use a blending brush to blur the edges keeping the light-to-dark gradient in mind and then with the same blending brush use an eye shadow that is of the same shade as your kohl and pat it over the smudged liner on your lids
Step 5: Smoothen the Edges and Finish the Eyes
Use a flat brush to blend the edges and when the shadow settles down to run some loose powder along the edge of your eye shadow to make the smoky gradient look smoother on both the upper as well as the lower lash line.
Step 6: Complete it With Mascara
After you’ve corrected the areas where your eye shadow may have gone too high or too far out, all you have to do is coat your lower lash and upper lash with mascara to complete the grungy smokey eye tutorial.
In the end, whichever smokey eye tutorial you follow, the last step must always be to remove the fallout under your eyes and on your cheeks.
While we want you to crack the smokey eye look perfect, we have also taken into consideration the time constraint and shortlisted the best smokey eye tutorial that can be completed in 10-15 minutes at max. They are totally doable and easy if you follow each step diligently. Just don’t forget that it is going to be a little messy but in the end, all the mess will be worth it when you have the perfect smokey eye look this wedding season.
Do you think this smokey eye tutorial was of any help? Which of these three looks is your favourite? Tell us in comments if you tried our smokey eye tutorial and how it went.

