Makeup Step By Step Guide So That You Always Slay Your Look
Gearing up for the wedding season and need to ensure your makeup look is on fleek? Check out this makeup step by step guide to help you get your glam face on!
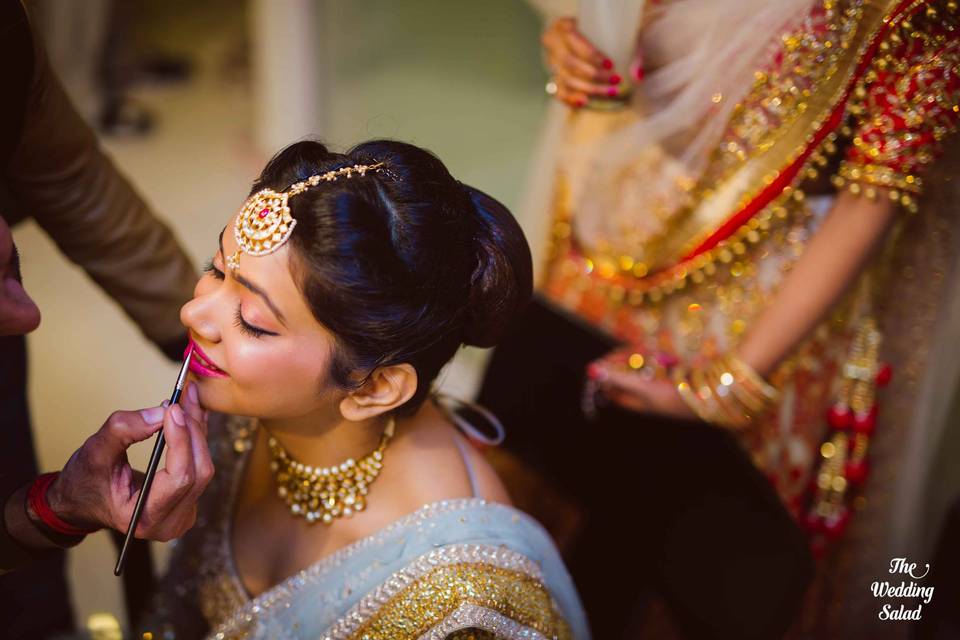
Right from the primer down to the setting spray, this makeup step by step guide has got you covered! Whether you are getting ready for a Diwali party or your own Roka ceremony, makeup plays an integral role in your entire getup be it a natural look or a full glamorous one.
Even more important than picking out the right makeup is knowing your skin type as this will determine how well it will suit and flatter your skin. The three main types of skin are dry, oily and combination and you must bear your skin type in mind while choosing your makeup products for this makeup step by step guide.
You could take one of the many quizzes available online consisting of simple questions that make it easy to determine your skin type. Products like your primer, foundation, concealer, blush and setting spray work brilliantly depending upon on your skin type. With that said, let's dive right into the makeup step by step breakdown.
Prep & Prime
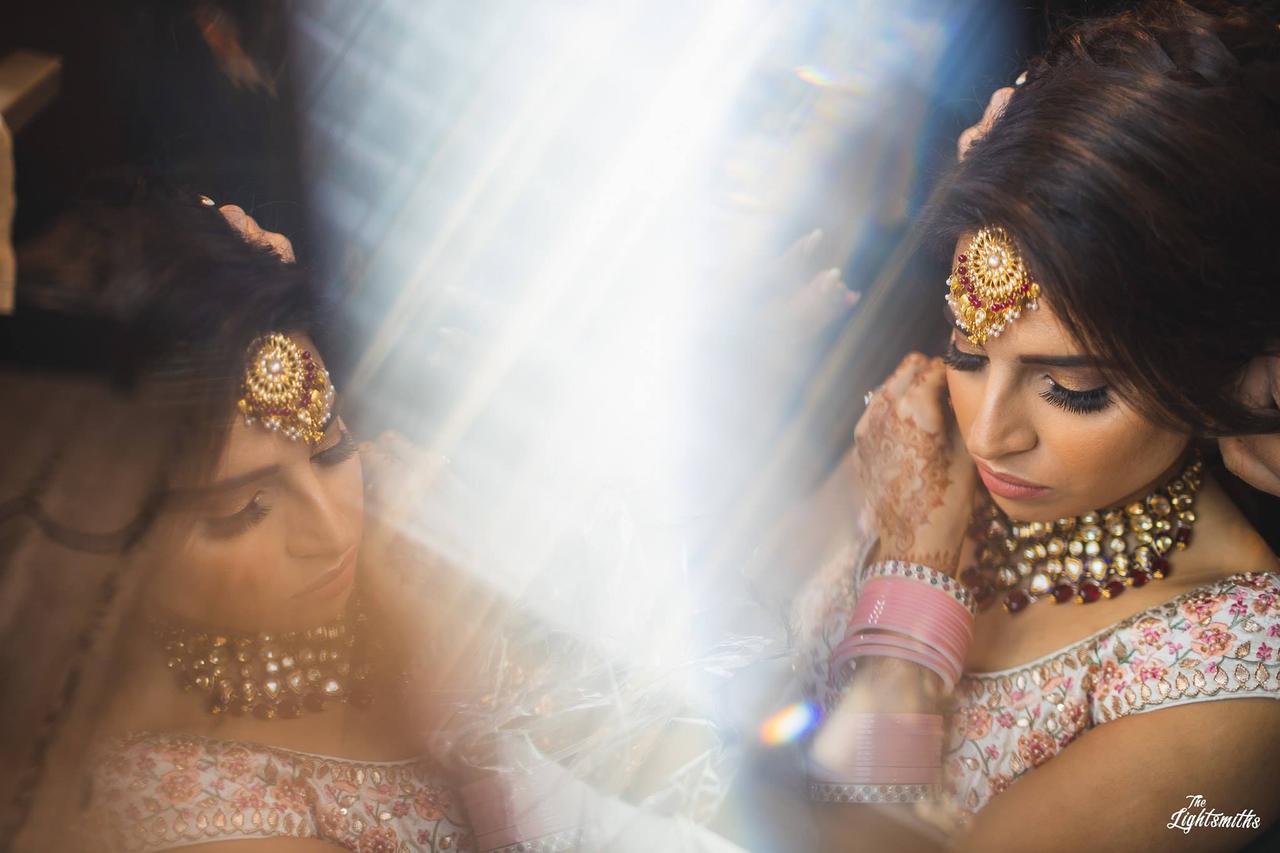
Once you have cleansed your face, the whole makeup step by step process starts! Pick a moisturiser, primer or even a combination of both to begin the layering. What this step will ensure is that your foundation binds with the moisturisers and last much longer than it would on its own! A primer is a base does the work of smoothing out the texture of your skin, minimize pores while boosting the coverage of other products.
While you prep your skin, also prime your lips with a lip balm or a primer as it will help hydrate for the lip products. A primer is a must for long hours and hot days to avoid your makeup from budging.
Ace the base!
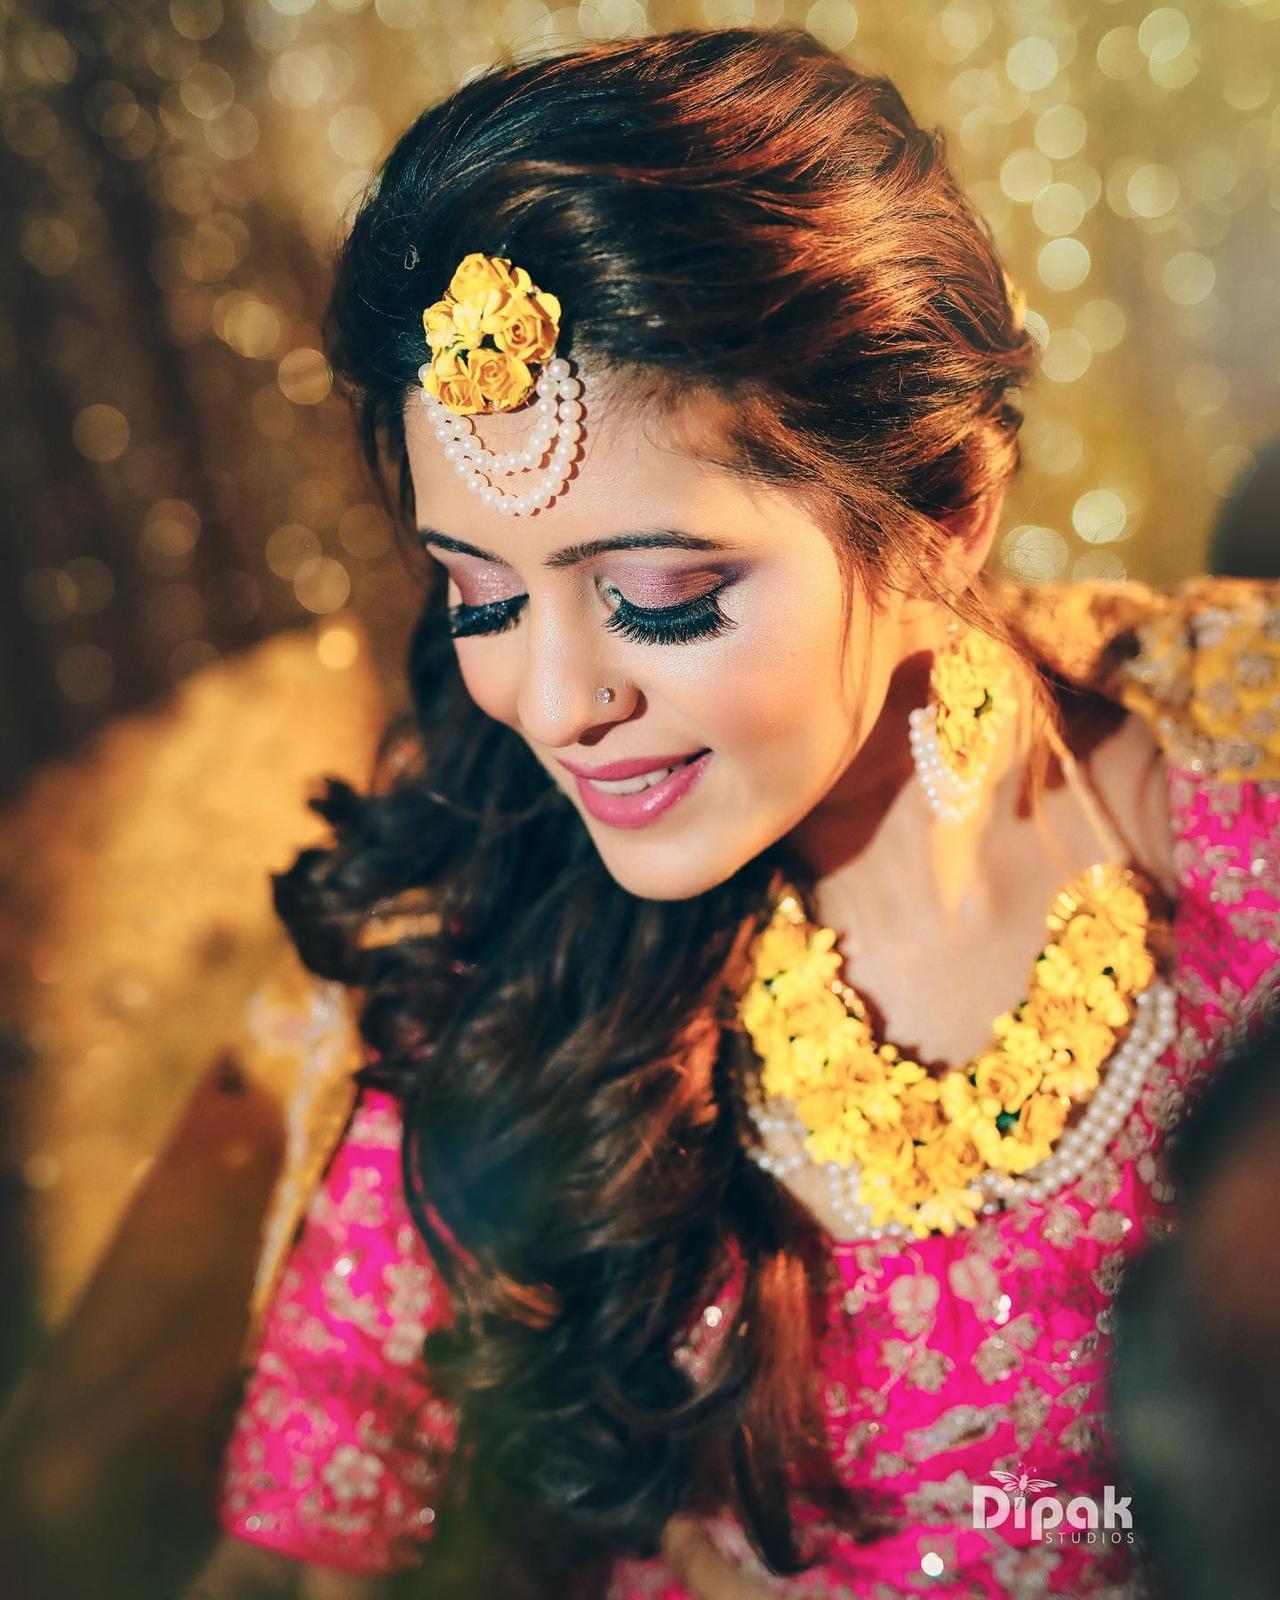
Next on this list of this makeup step by step guide is the most common and important step of foundation. Using a damp beauty blender or a brush, gently apply the product on to your skin. Always start with less quantity and slowly build the coverage depending upon preference. You could also mix a little liquid highlighter into your foundation for a healthy sheen.
Tip: While picking out the perfect foundation, don't do a test on your wrist instead try it on your chin for the right match!
Correct & conceal
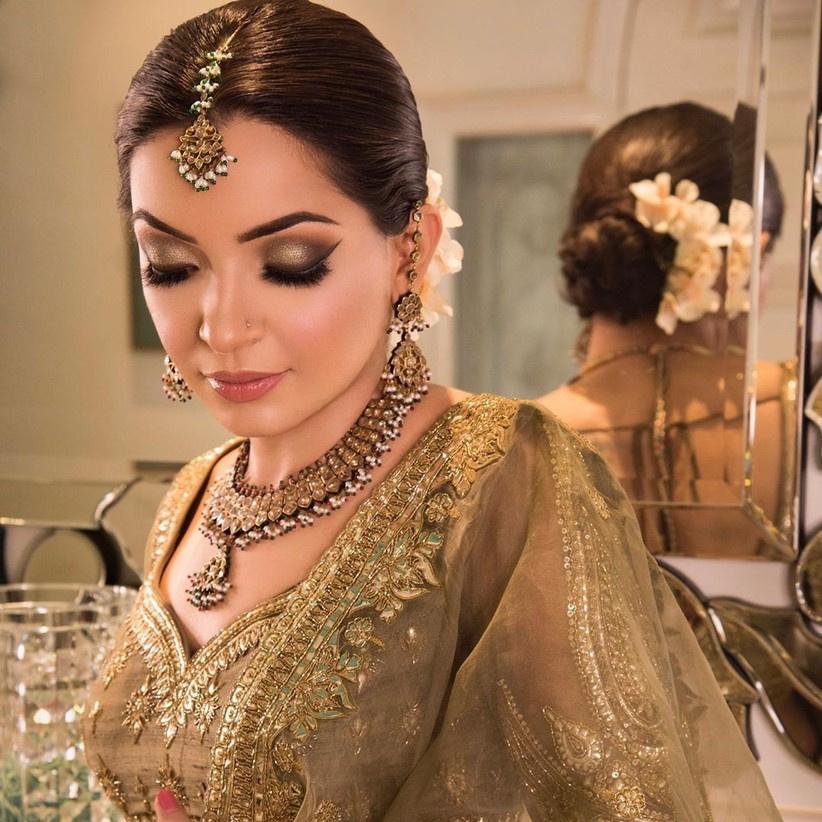
The next in this series is crucial for the makeup step by step and it is to correct and conceal your blemishes and problem areas, be it a stubborn pimple or dark eye circles. Now the common colour correctors are green to cancel out redness, orange to cancel out dark spots or darkness and yellow to conceal the purple or dark hues on olive/tan skin tones.
And you layer the conceal above this. The trick with concealer is to pat or dab it into your skin as the warmth will make it blend easily and look natural!
Settle it in
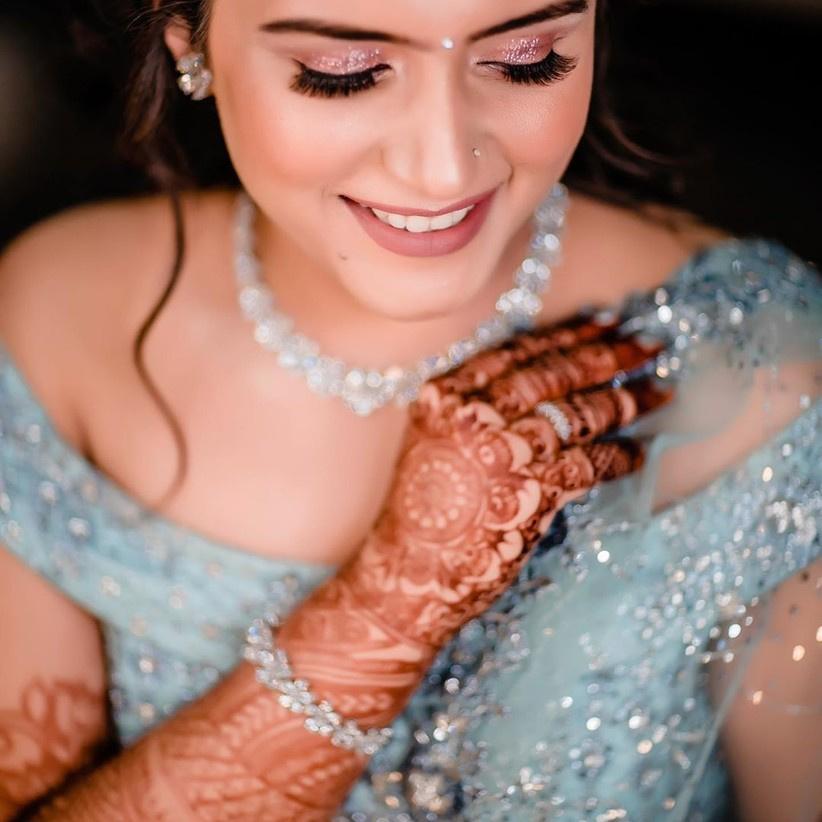
Using a setting powder or compact, gently set your makeup to avoid them budging. If you have oily skin or combination, you must pay special attention to your T-zone to avoid oil buildup later! We use a buffing brush for this makeup step by step guide.
Bling it up!
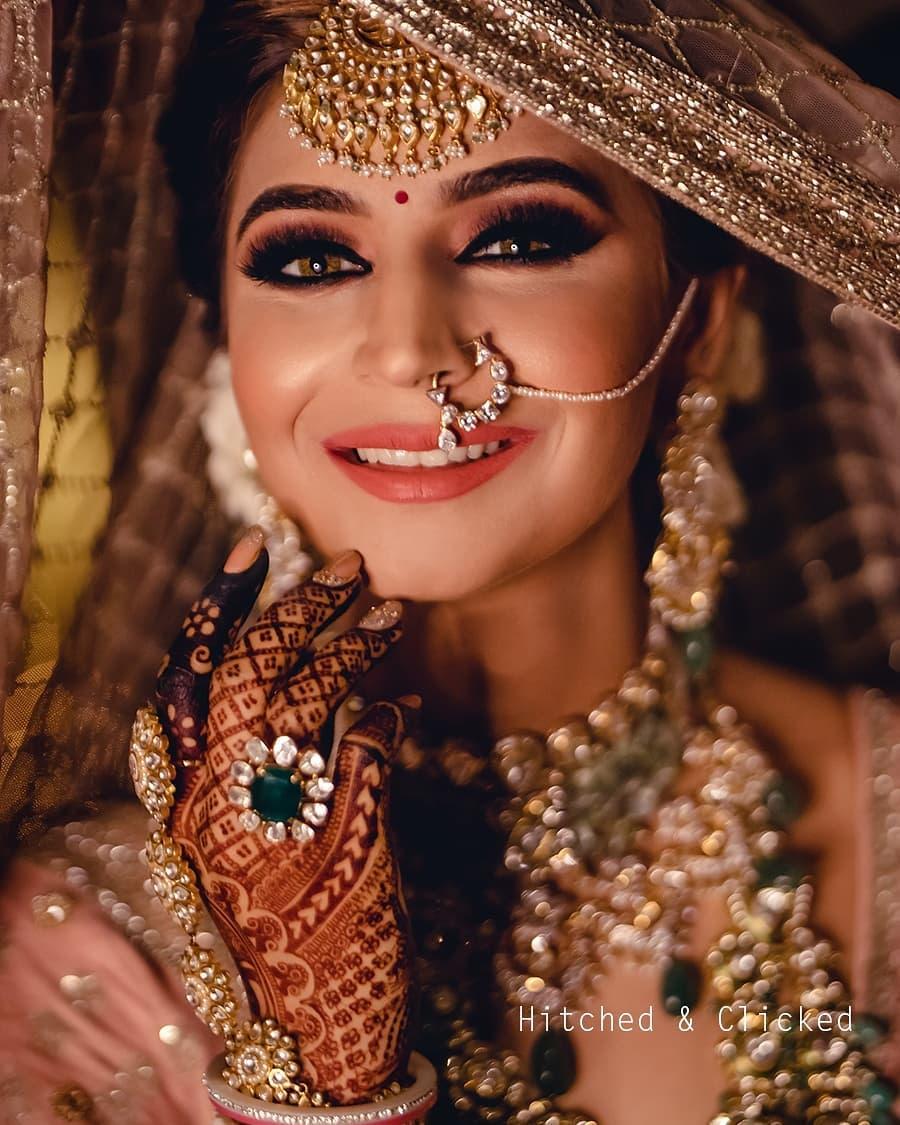
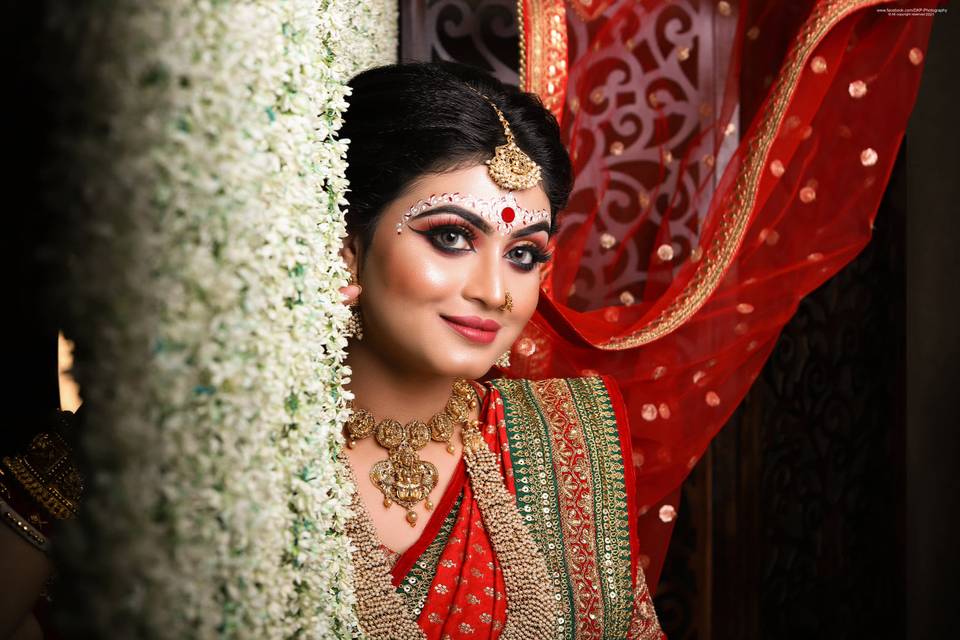
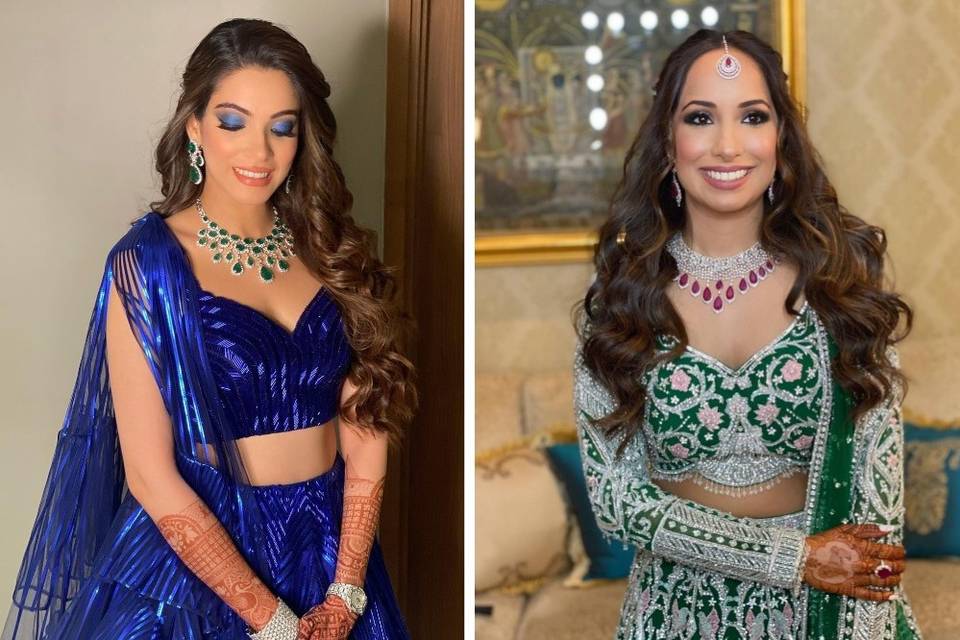
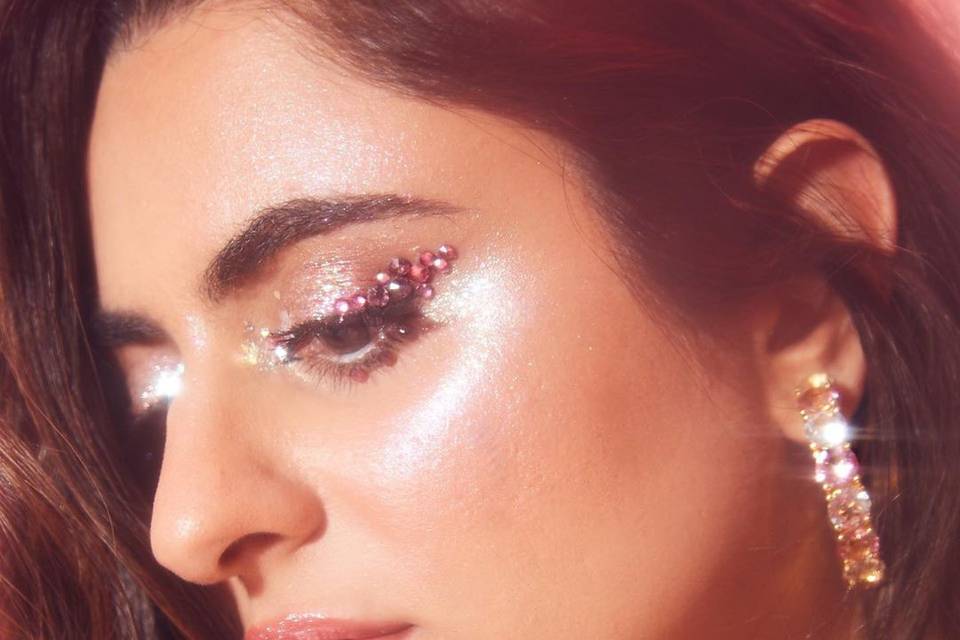
Now when it comes to the makeup step by step guide, the main step which adds definition to your look is the eye makeup. Eyeshadow is tricky and needs practice so be sure to check out some blogs on smokey eyes and even the soft glam looks. Use concealer as the base and if you are using glitter stick to a primer.
Don't forget to tight line your eyes and use a nude liner on the waterline to make your look pop! You can add a fake lash or layer on mascara as per your preference. Also, include a hint of highlighter the corner of your eyes.
Brows on fleek!
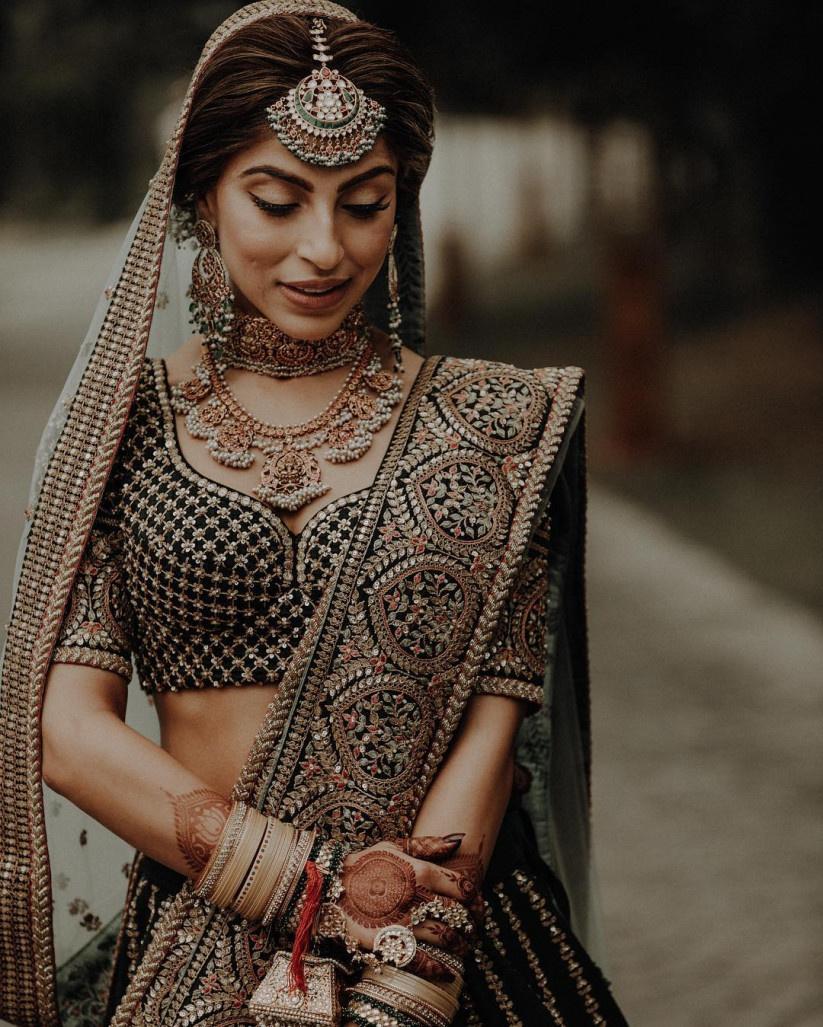
While many women skip this in the makeup step by step process, we find it rather important. Whether you have thick brows or thin, this step will help your brows look more sharp and defined. But it is very easy to overdo it, find the perfect product for you be it gel, powder or even if it's just a pencil. Always have a spoolie in hand while doing your brows as they not only help in taming it but also distributing the products evenly.
Time to add the colour
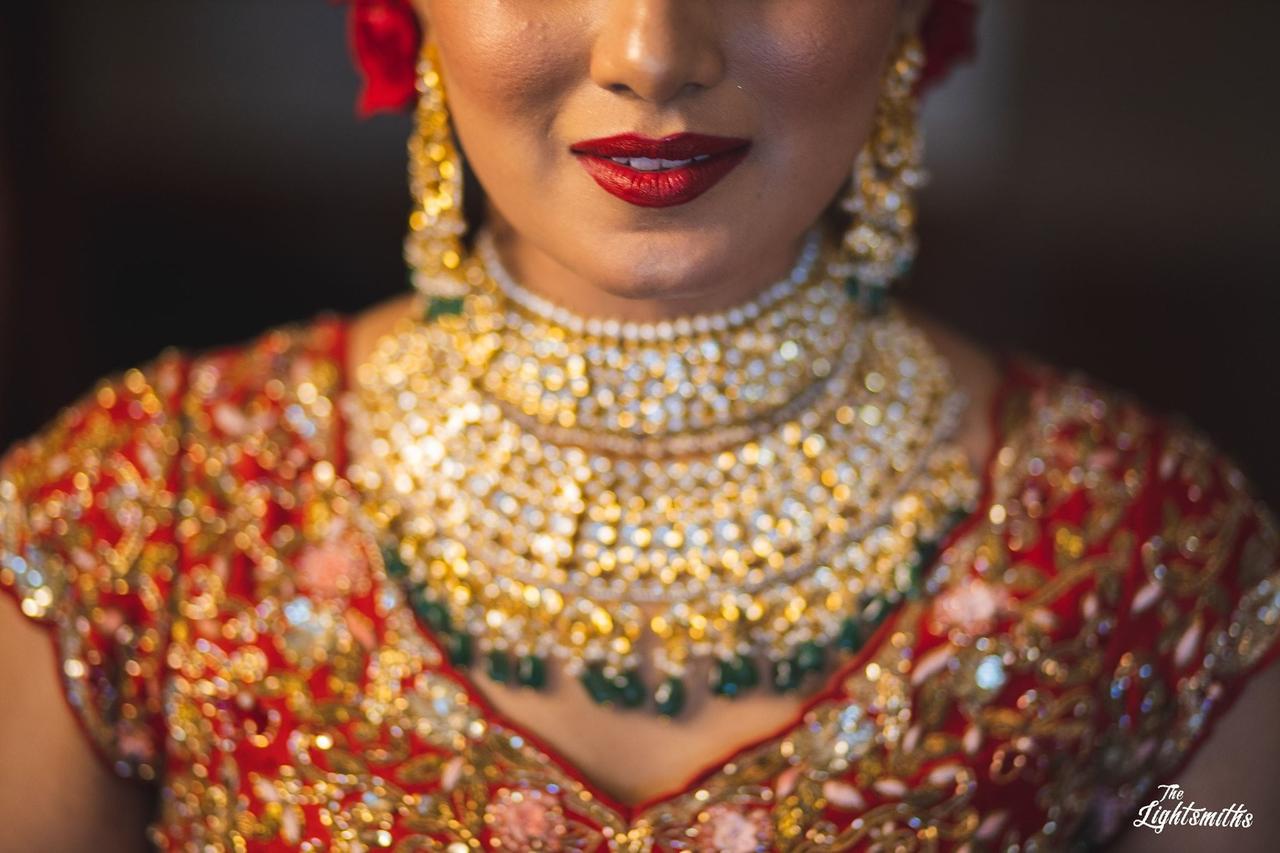
Honestly, in all of the makeup step by step guide, this has to be our favourite one! From adding the much need flush to your cheeks and the colour to your lips, everything has to be well coordinated. Again with the cheeks start with little products and slowly build into your cheekbones for a natural look and sheen.
You could choose between cream and powder blush but we love the cream ones because of the dual usage for lip and cheek. Next moving to your pout, line your lips before adding lipstick. You could dab it with setting powder before putting another layer to make it last longer!
Highlight & set!
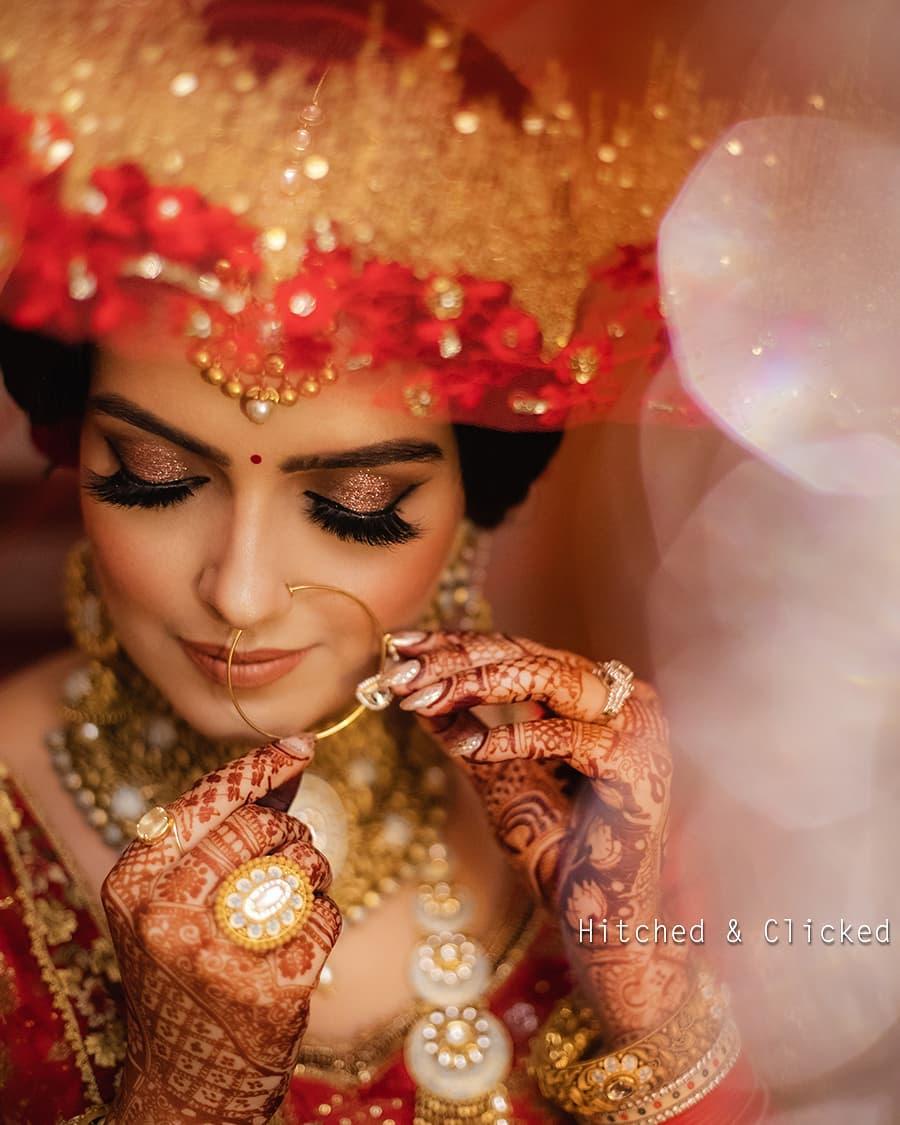
The last step is to add a touch of highlighter to the high points of your face starting from your under your brow, bridge of your nose, cheekbones, cupid's bow and even your collarbone. Use this product carefully and layer it gradually if needed, as a little goes a long way with a highlighter.
Next using a setting spray, set your makeup in place to seal it all and make it melt into your skin for a natural finish. While this step is completely optional we find that using a setting spray really does make a big difference in makeup looks making it the last one in this guide.
While some days your makeup might look brilliant there are some days things may not work, it is then this makeup step by step guide with tricks will come to the rescue and help you create an effortlessly chic and elegant look perfect for any event. Sure, the products do matter but it is also the way you use them which will make this pop a little better!
Always keep your skin type, the timing of the function, your outfit and season in mind while building the perfect look. And the best way to learn how to ace this makeup guide is to check out some makeup video tutorials and practise!
So which step in this makeup guide did you think was the most crucial? Let us know in the comments below.

