The Only How to Make a Juda Step by Step Guide You Need Today
Knowing how to make your own hairstyles can come in handy this wedding season. Learn how to make juda step by step, with a few tips and tricks along the way!
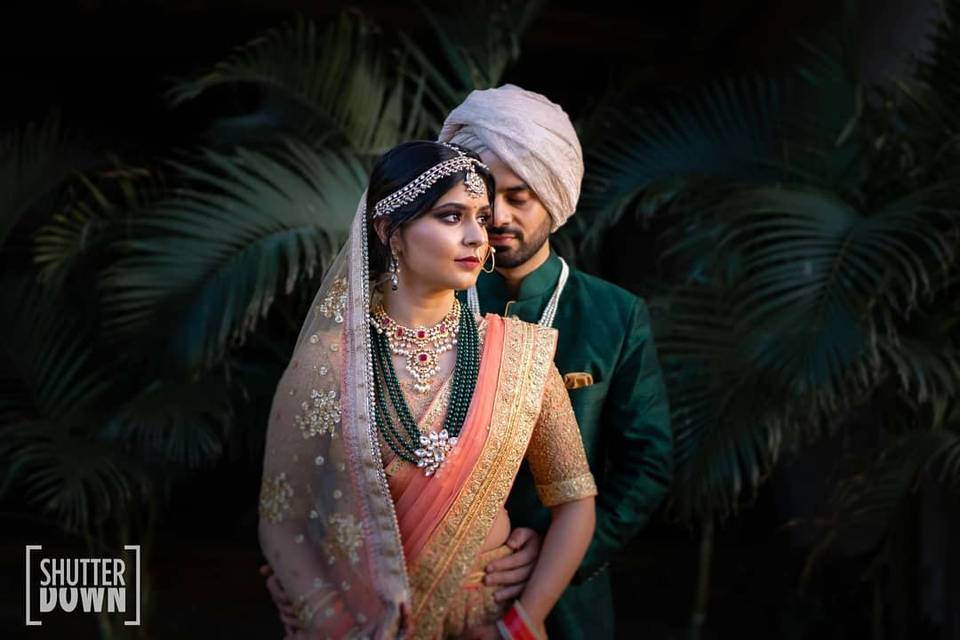
Being an all-rounder will always help you in life. During the wedding season, everyone is busy with his or her work or getting ready for a ceremony. You should always know how to make some hairstyles so that you have no problem getting ready without any help. These skills will be helpful to you, even in your future.
If you are a bride, you should definitely know how to make Juda step by step so that you can make the hairdo after your wedding without any fuss. This goes for everyone else as well - having extra styling skills in your pocket will not harm anyone! Here are 4 bun hairstyles that are easy to make and will look gorgeous on you.
Learn how to make Juda step by step right now!
A simple centre partitioned bun
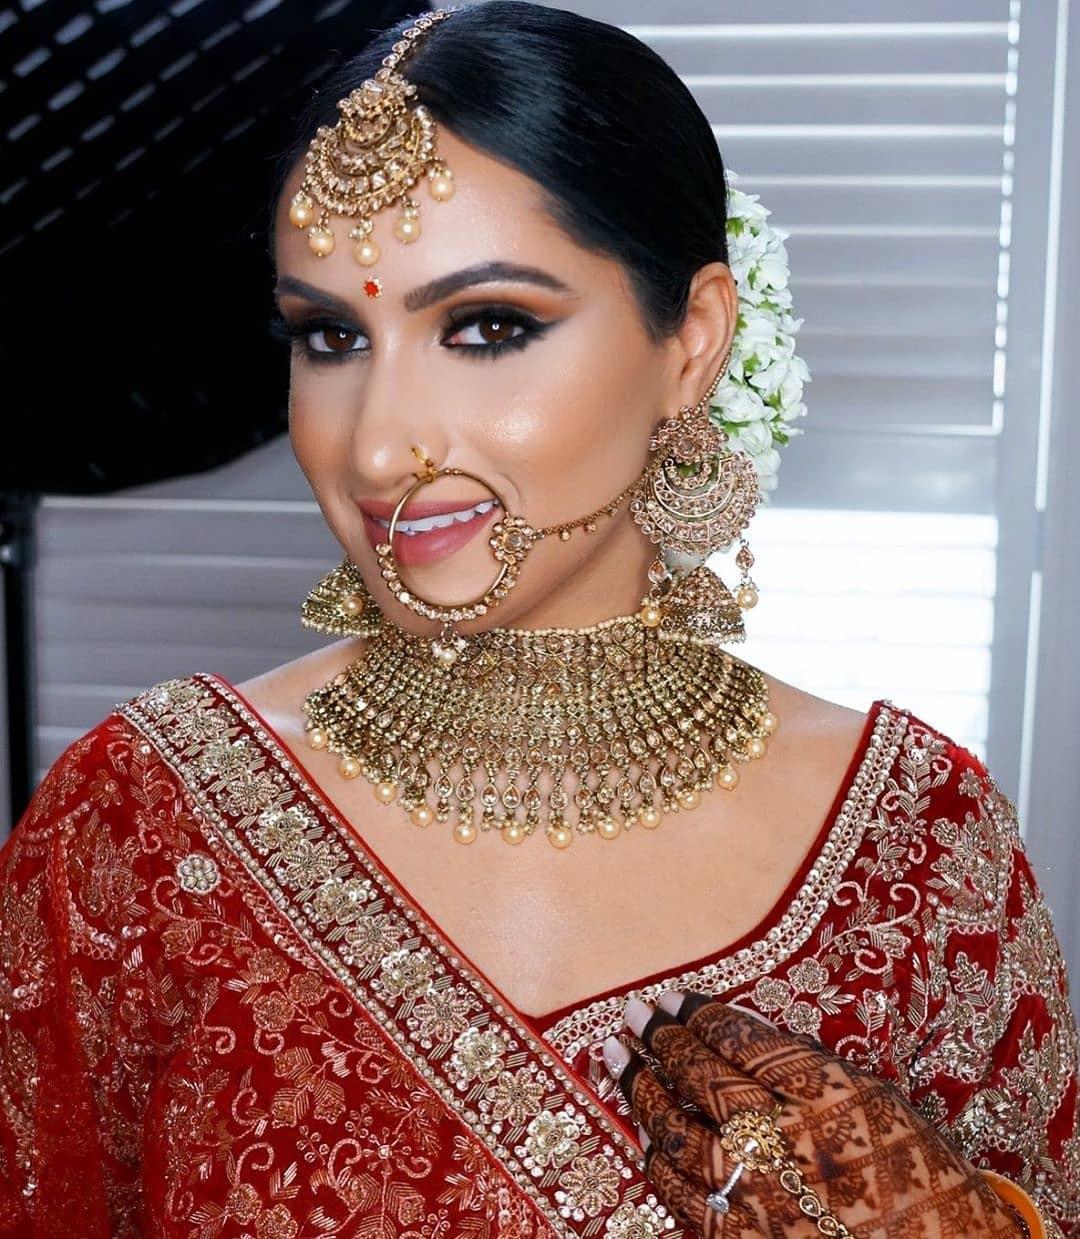
Image Courtesy: Canvas Beauty Co
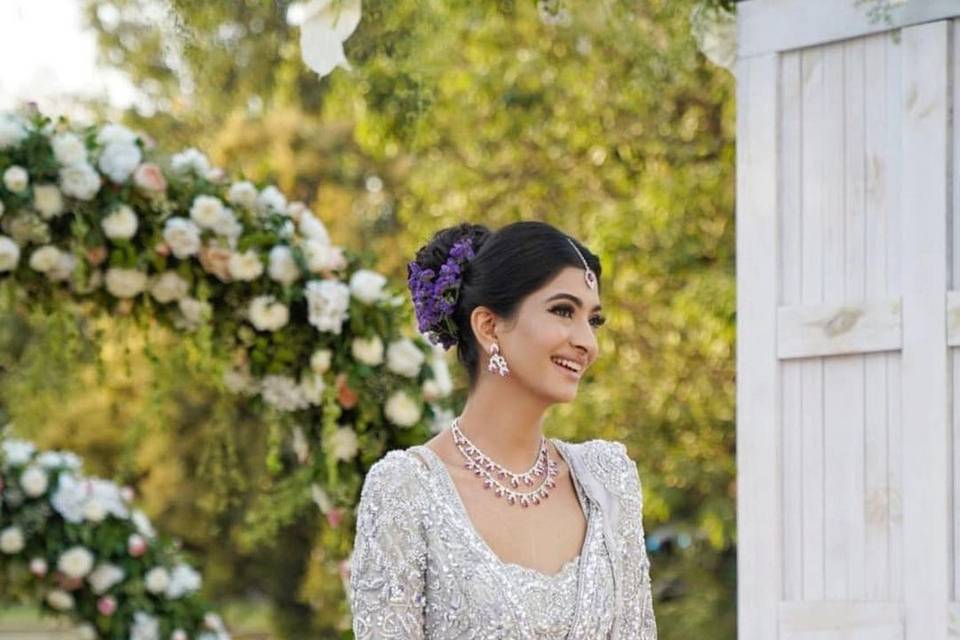
The first hairstyle in our how to make Juda step by step list is a simple Juda with a centre partition. This sleek hairstyle is perfect for anyone with an oval face structure. If you are planning to wear a dupatta on your head, you should consider this hairstyle as well. Here are the steps you have to follow:
- The first step is to straighten your hair to perfection. It does not matter if you have naturally straight hair! Use the straightener once to get rid of all the fizziness.
- Create a centre partition in your hair with a sectioning comb.
- Tuck your hair behind your ears and make a Juda. You can also use a fake bun if you do not have volume. You can also wrap the bun with some flowers to make the bun look heavier.
Style tip: if you have a big forehead, wear hair jewellery like a Matha Patti. It will hide your hairline and make your face feel smaller.
Elegant bun at the back with accessories
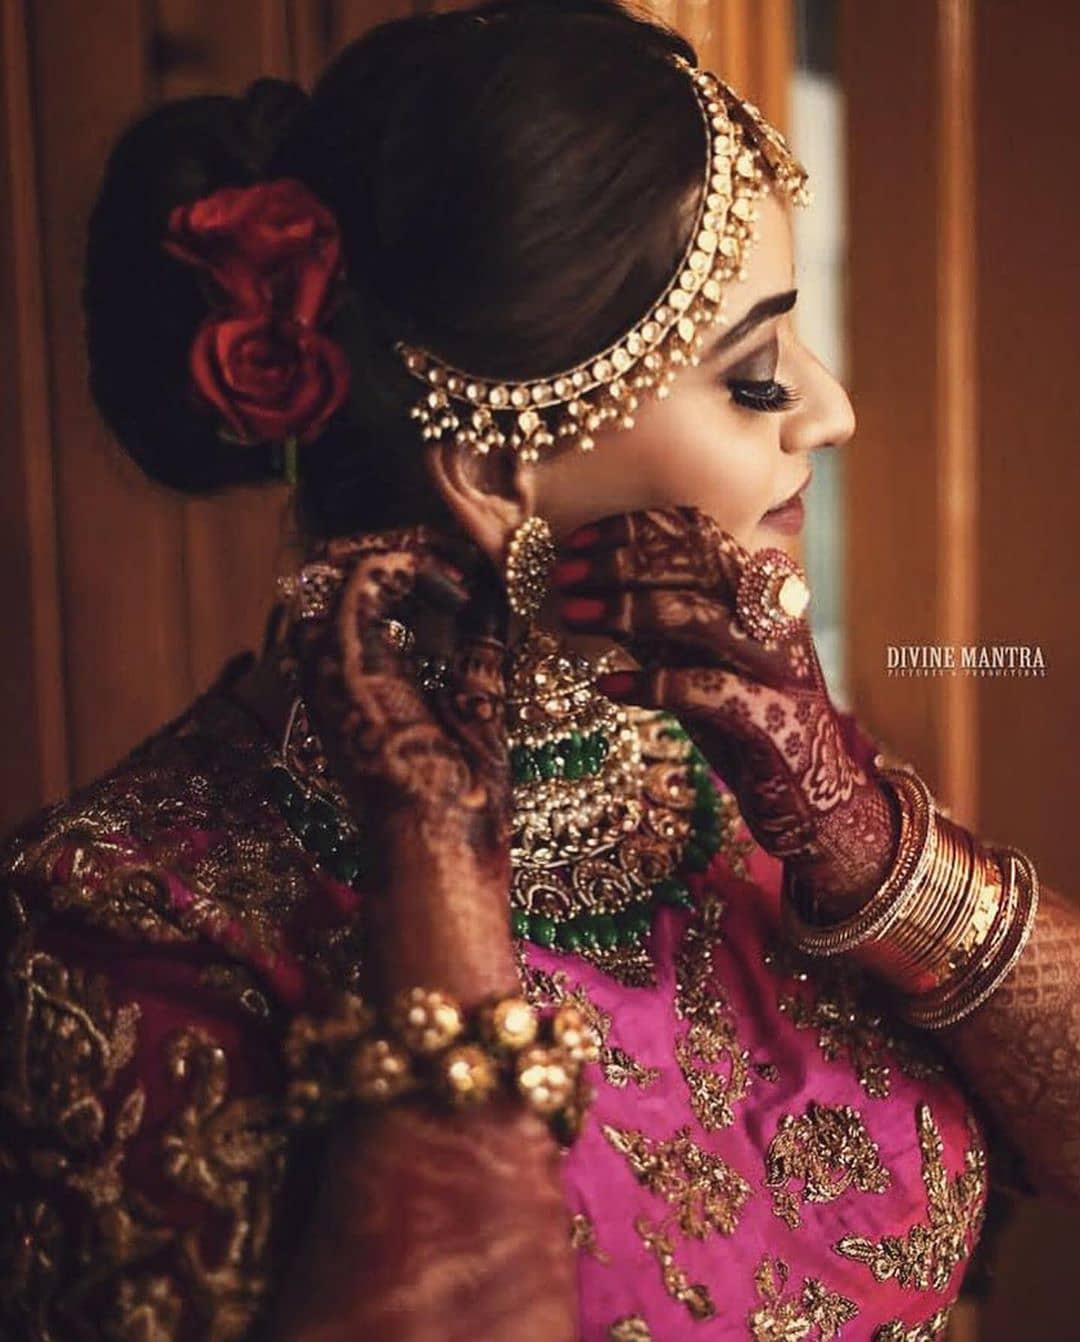
You should definitely learn how to make Juda step by step with a braid wrapped around it. It adds another level of character to your look. You can also add some roses on the side if you are going to a big event. Have a look at these steps and learn the art!
- The first step is the same as before - straighten your hair. It is done to avoid frizzy hair that may stick out of the bun. You don’t need poker-straight hair so you can get by with just straightening your hair lightly for this hairstyle.
- After sectioning the hair into a centre partition, take most of the hair on the sides and tuck them where the bun will be. With the remaining length, make a simple braid on both sides.
- After you have made the Juda, wrap both the braids around it and hide the pins.
Adding roses to the look is totally up to you!
Light bun with Gajra
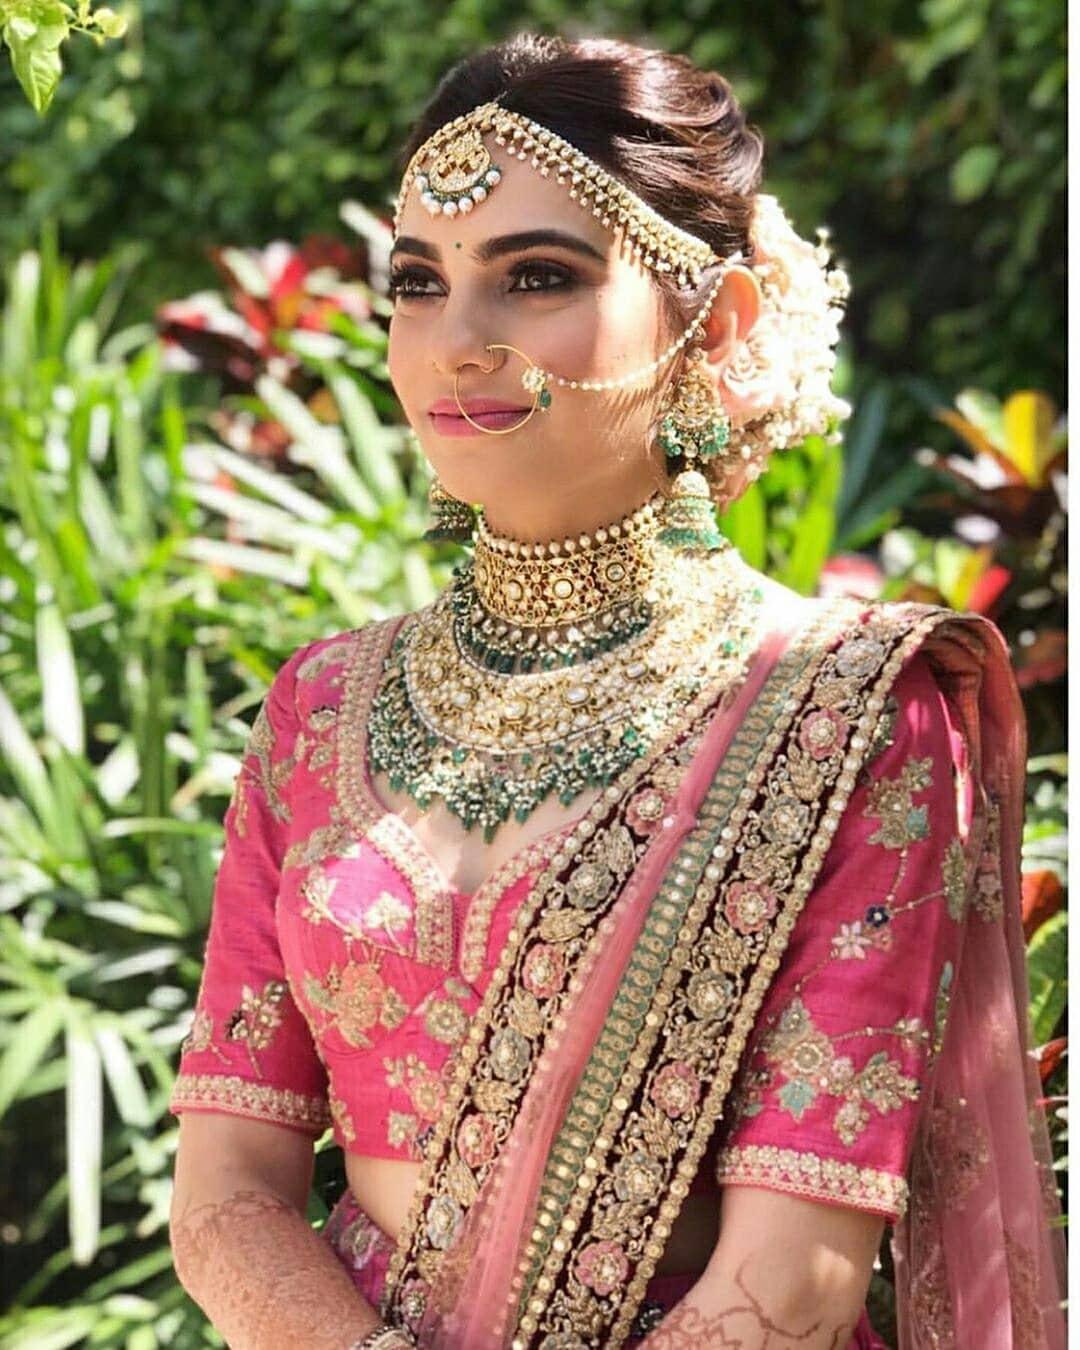
If you want to know how to make Juda step by step with your naturally wavy hair, check out the steps below! They will surely help you make a beautiful hairstyle without damaging your hair with a straightening machine. If you have very curly hair, you can use a heat protectant spray before straightening. Here are the steps:
- The first step is to make sure you a slightly wavy texture to your hair and make a centre partition in the front.
- Backcomb the crown area just a little and make a neat bun.
- Take the centre-partitioned hair and divide them into 2 strands of hair on both sides. Loosely tuck the strands with the bun so that it gives a slightly messy feel and adds volume to the hairstyle.
- Repeat this step on both sides.
Side partition bun with Gajra
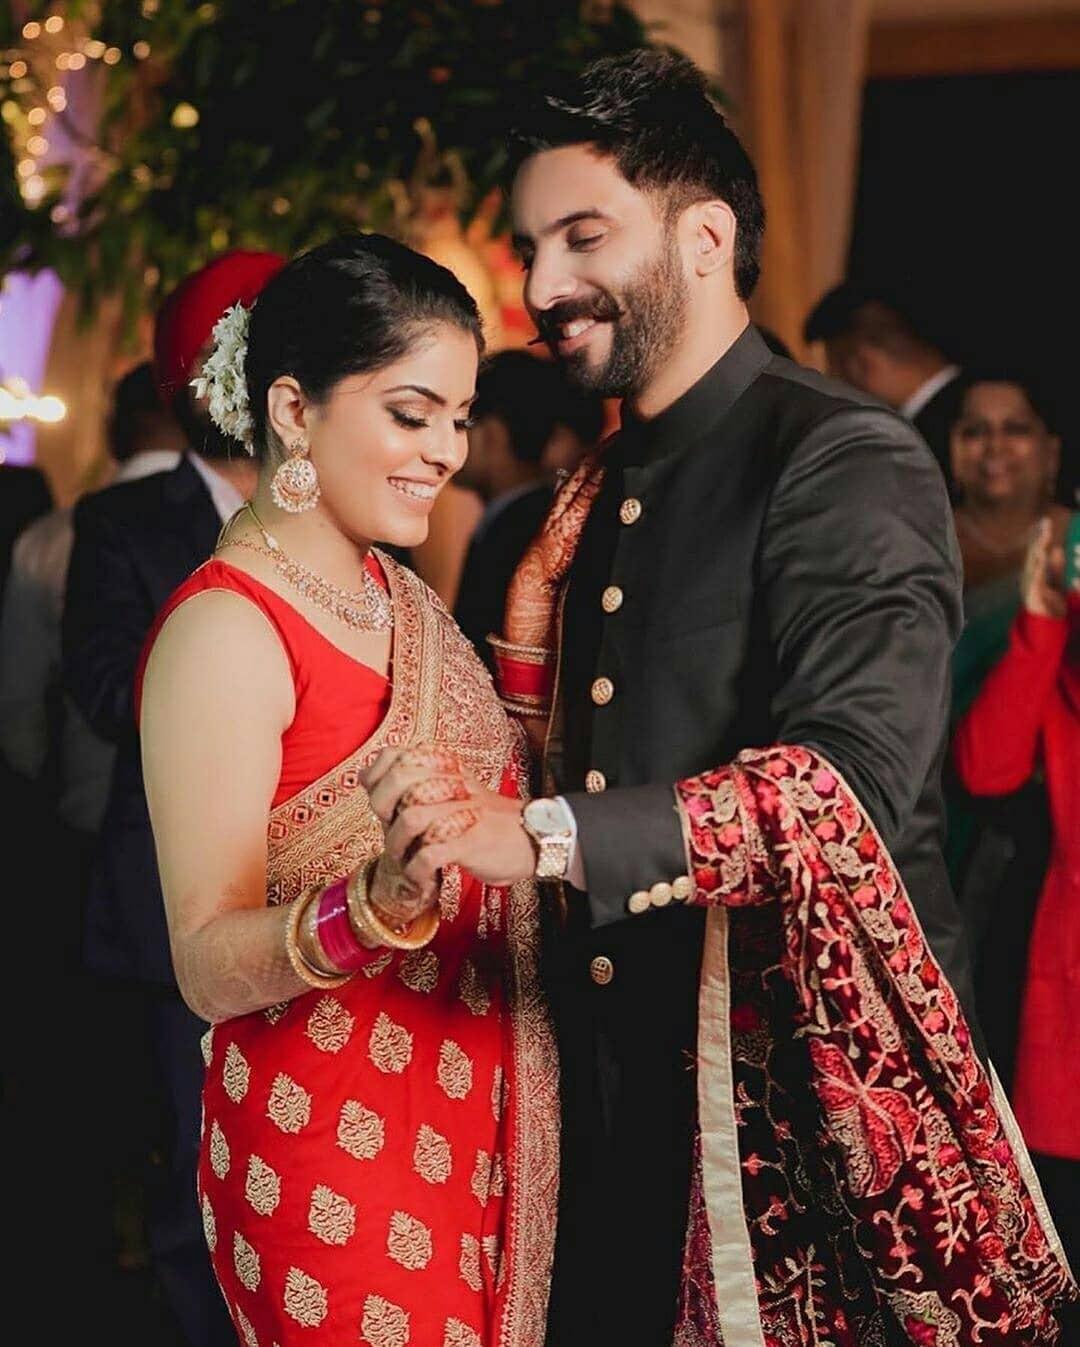
Learn how to make Juda step by step with a side partition and a Gajra to add some panache to your look!
- The first step in this how to make Juda step by step is to straighten your hair.
- Create a side partition and comb back all the hair.
- Make a simple bun and wrap it up with a Gajra.
The Gajra can be made with any flower in different colours matching your outfit.
Style tip: you can also add a dainty Maang Tikka if you are wearing a saree. If you take this advice, secure the Tikka with a bobby pin before making the side partition.
Buns look best when you are wearing a traditional outfit like a saree or lehenga. Styling your look with bindis, Maang Tikkas and Matha Pattis just add another traditional element, making your look more authentic. Follow all these steps carefully to become an expert on how to make Juda step by step, for these 4 hairstyles at least. We hope you find them helpful. If you have any queries, reach out to us the comments section below!
Want to rock more complicated hairdos to an event? These hairstylists at salons near you can help you out!

