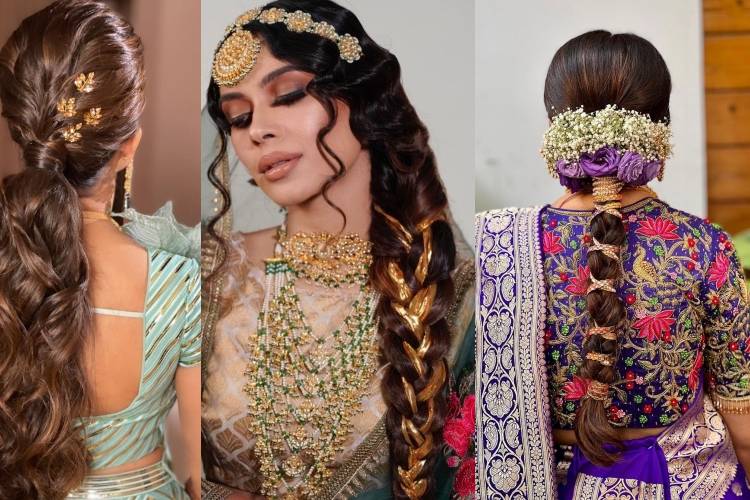
You Must Follow This Hairstyle Step by Step Guide to the 'T'
Looking for simple hairstyle step by step tutorials? Look no further because we have them right here for you, dear bride!
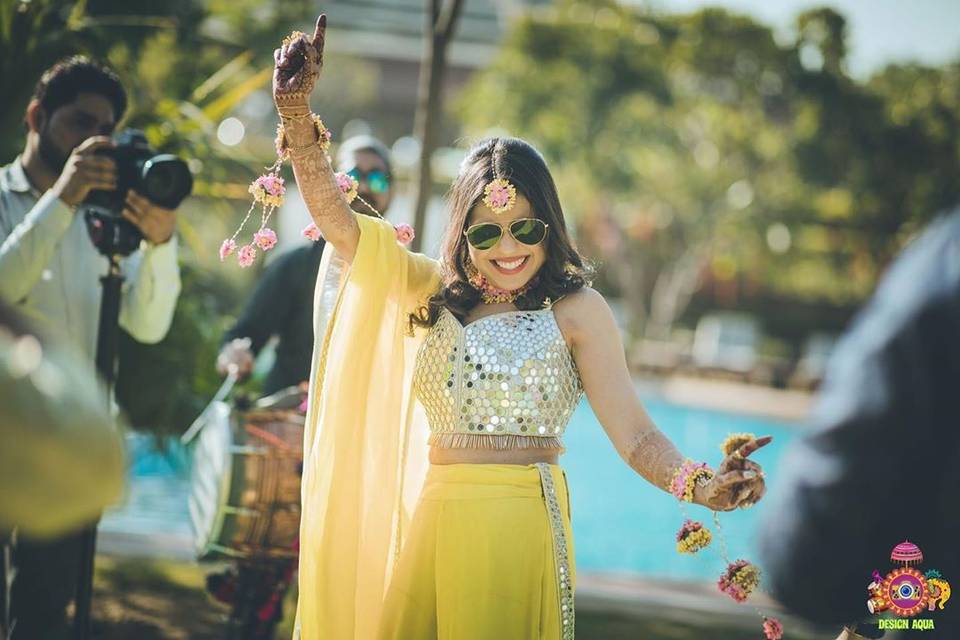
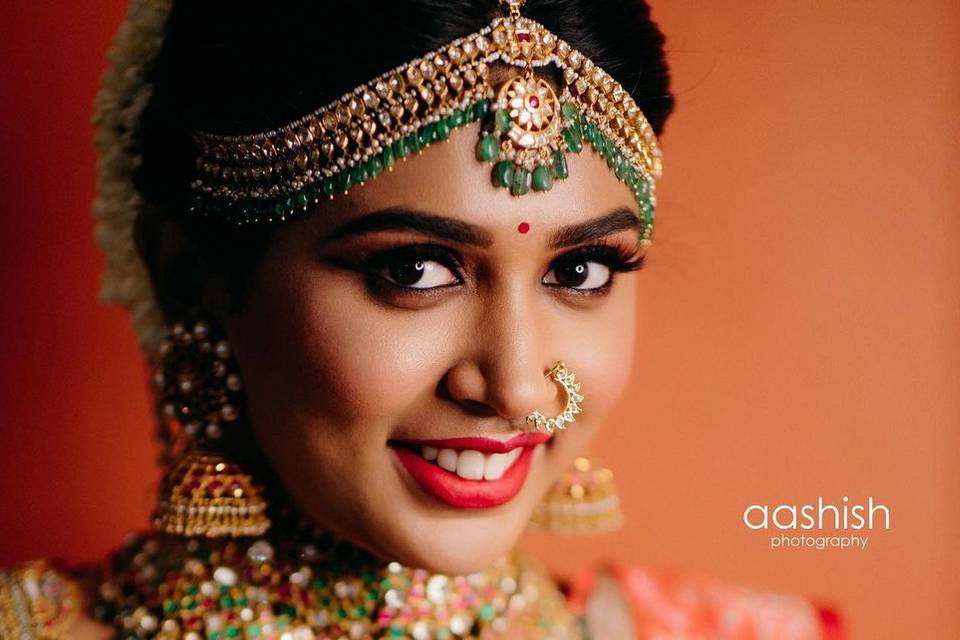
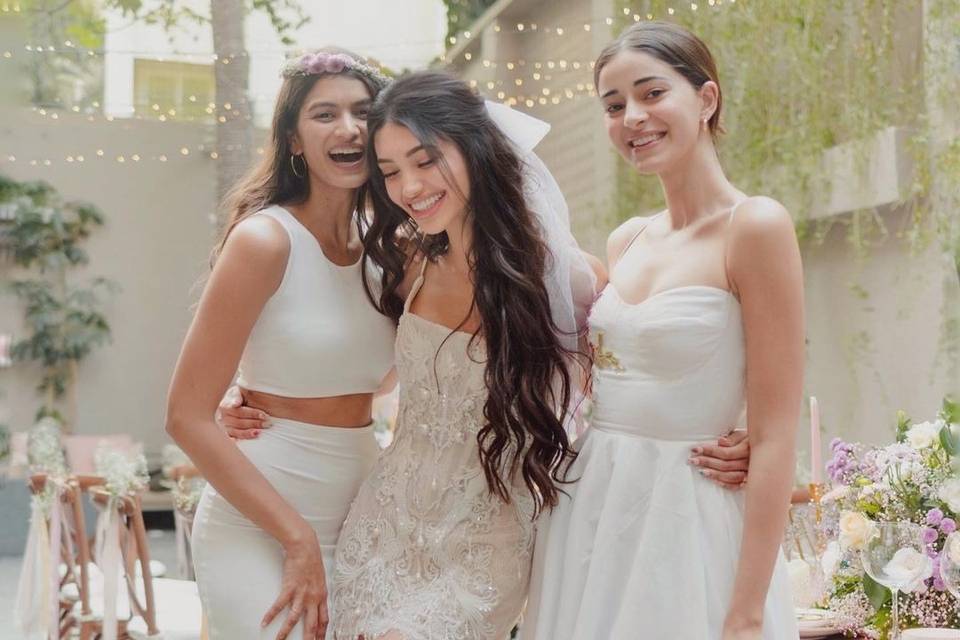
When a girl is all set to become a bride, there is a lot going on in her mind. Some of the things she thinks about is how she wants to look at her gorgeous best at all the functions during the wedding celebrations and even post that. You will understand this if you are a soon-to-be bride. But hey, while it’s easy to look all decked up during the functions because of all the hairstylists and makeup artists you’ve hired, it sometimes becomes a task to achieve a pretty look for all the other days leading up to the wedding and the ones post that.
But you really don’t have to worry because we have your back. While you can take away some easy DIY makeup tips here, we also have for you tips on how to make a simple hairstyle step by step ideas. All you need to execute the simple hairstyle step by step is some patience, practice and a set of basic hair styling tools and types of equipment like hair straightener, a curling rod, a hairdryer, some hairpins, a round brush, a flat brush and a comb. If you have these basic tools handy, then you don’t have to worry at all because you will be able to make any simple hairstyle step by step and that too very easily.
So, without any more dilly-dallying, let’s cut to the chase. Here is a list of 5 simple hairstyles step by step that are very easy to make and will definitely look stunning. Here goes:
Loosely Slicked Open Hair
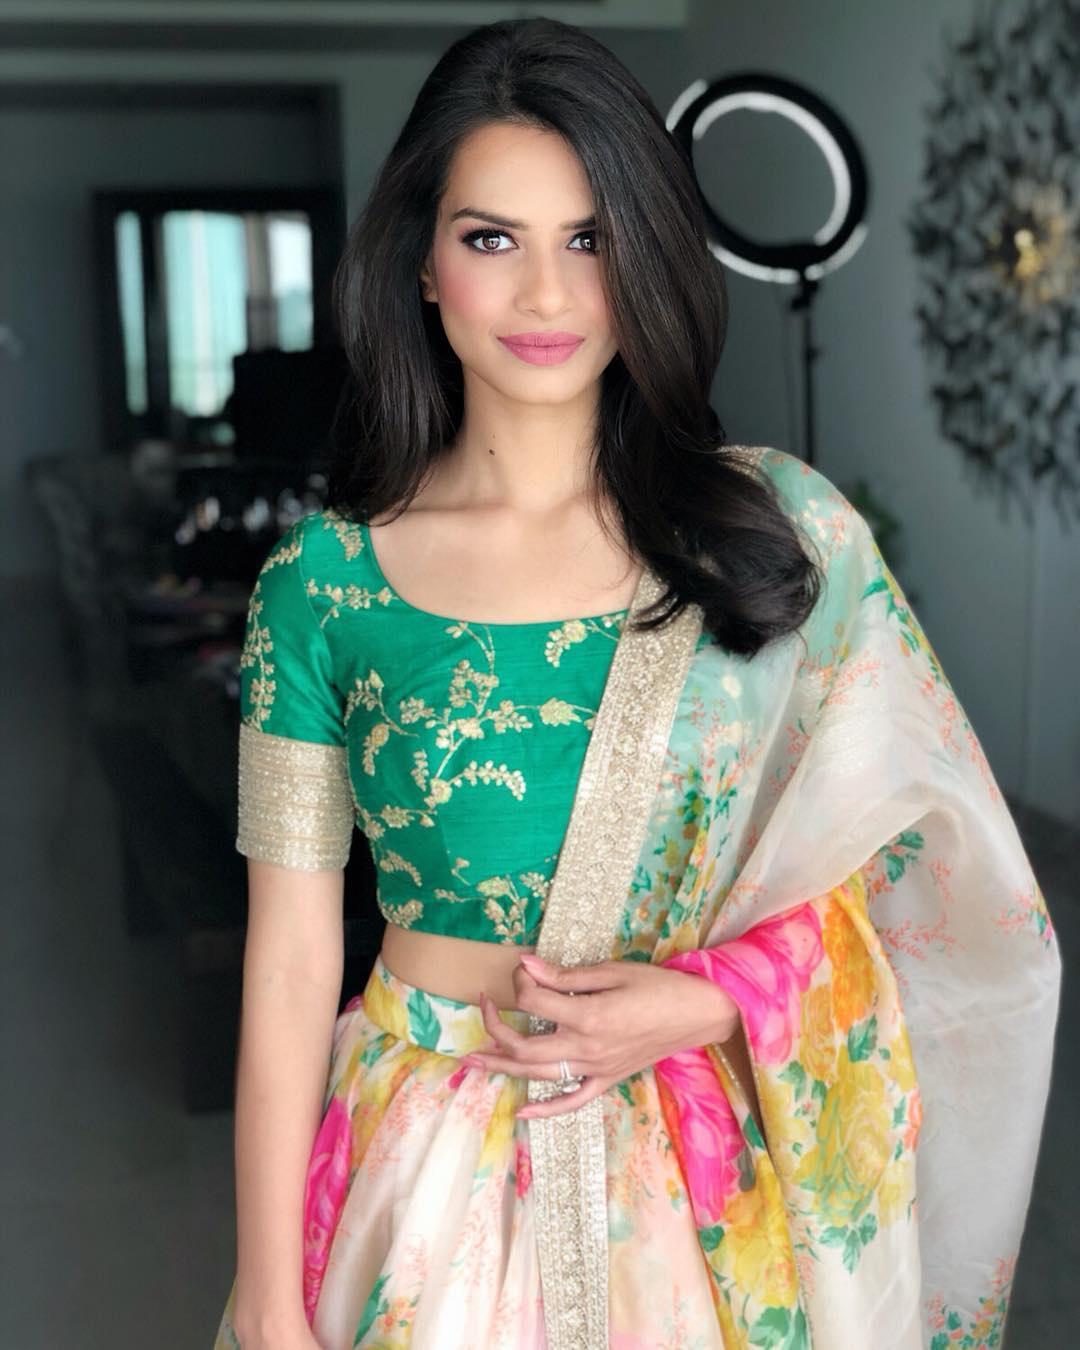
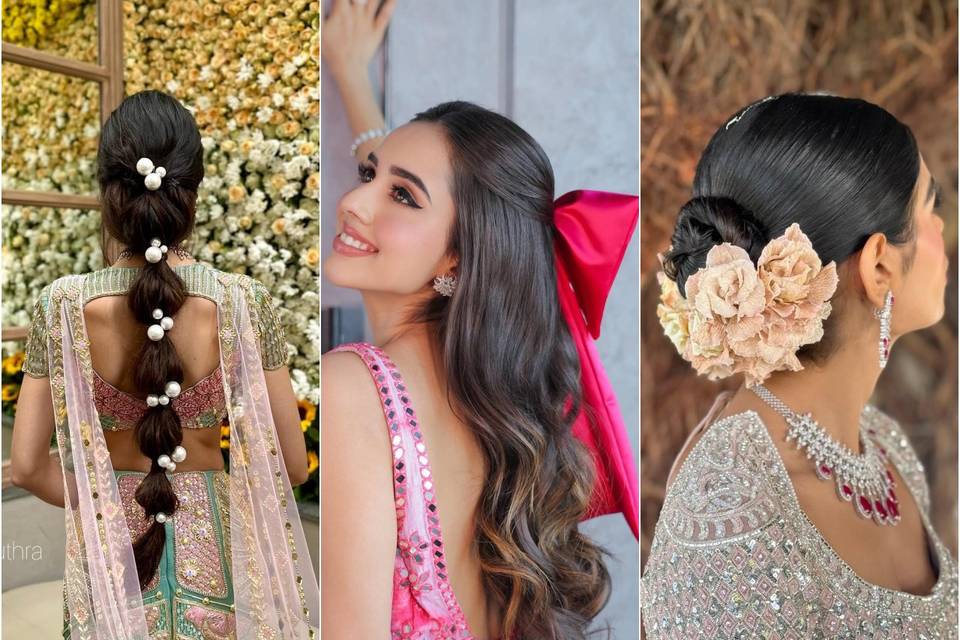
This hairstyle looks gorgeous and natural and is therefore perfect for a day function or even just a simple get together before or after your wedding. This is nothing but beautifully set blow-dried hair.
What You Need:
- A hairdryer
- A medium-sized round brush
- Some hair clips to section the hair
Steps:
- Make sure your hair is completely dry before you start. Now depending on your comfort, divide your hair into as many sections as you want.
- Take one section at a time, and with the help of a brush curling your hair outward, blow dry them.
- Repeat this for all the sections of your hair.
- Once you’re finished, divide the hair into sections again, around 4-6.
- Take the lower part of each section and curl it around the brush a little tightly.
- Now apply direct heat to that section from the blow dryer.
- Let the hair uncurl after 5-10 seconds and check the curls. You can repeat the last two steps till you get the bounce that you’re looking for.
Wispy & Curly Open Hair

This is a very simple hairstyle step by step tutorial for a hairdo that is almost a classic. It is just right for the days when you want to put very little effort into your look but still look dressy and peppy.
What You Need:
- Some clips to section your hair
- A curling rod
- Hairspray
Steps:
- Divide your hair into sections according to how loose or tight you want your curls to be.
- Take each section and carefully curl it around the heated curling rod.
- Leave it there for 5-7 seconds and see how it looks. If you want the curls to be wavy, then 7 seconds should be enough. If you want tight curls then you’ll have to leave them around the curling rod for a bit longer. Just be careful to not overheat the iron as that could cause harm to your hair.
- Repeat this for all the sections and set the hair with a bit of hairspray for that perfect salon look.
Sleek Bridal Bun
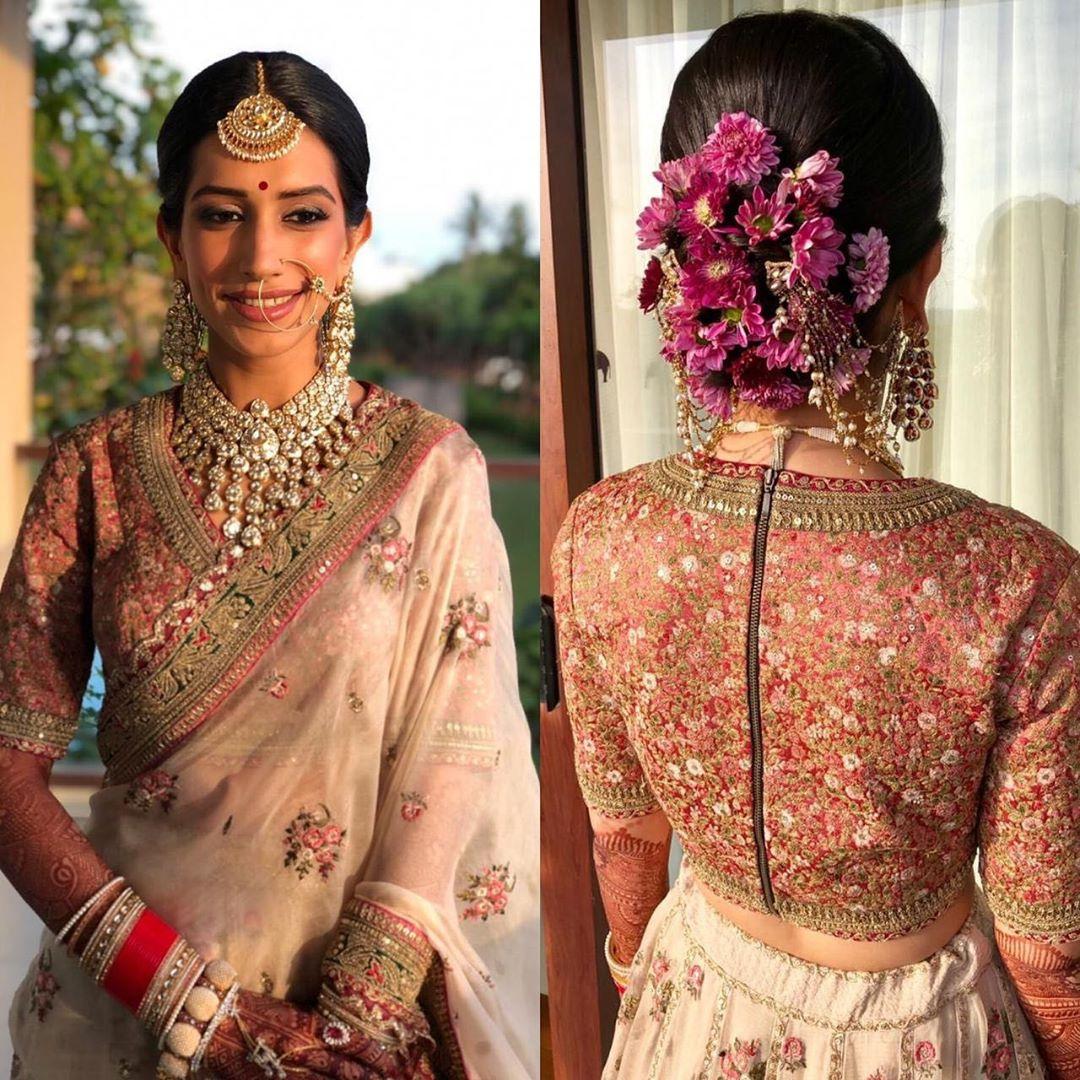
Buns are what we can call the simplest and most classic hairdos of all times. And they also have a very versatile property to them. They look great with all kinds of outfits, be it lehengas, sarees or even western gowns and dresses. If you want to opt for something which is non-fussy and weather-appropriate for Summers, then go through this simple hairstyle step by step carefully.
What You Need:
- A flat brush
- A styling comb
- A pack of Juda pins
- A thin black rubber band
- Flowers of your choice (optional)
Steps:
- Make sure your hair is untangled and smooth. Run a brush through them once to ascertain this.
- Centre part your hair into two sections.
- Collect all your hair at the back and tie them up in a ponytail a little above the nape of your neck.
- Coil the ponytail around the centre where you’ve tied it up with the rubber band and make sure the bun looks neat.
- Once you’re satisfied with how it looks on you, secure it with a good number of Juda pins so that it doesn’t become loose later. Be generous with the number of pins.
- If you want, adorn the bun with flowers or hair accessories of your choice. You can also set the bun with a little bit of hairspray to give it a neat look.
Crown Braid With Open Hair
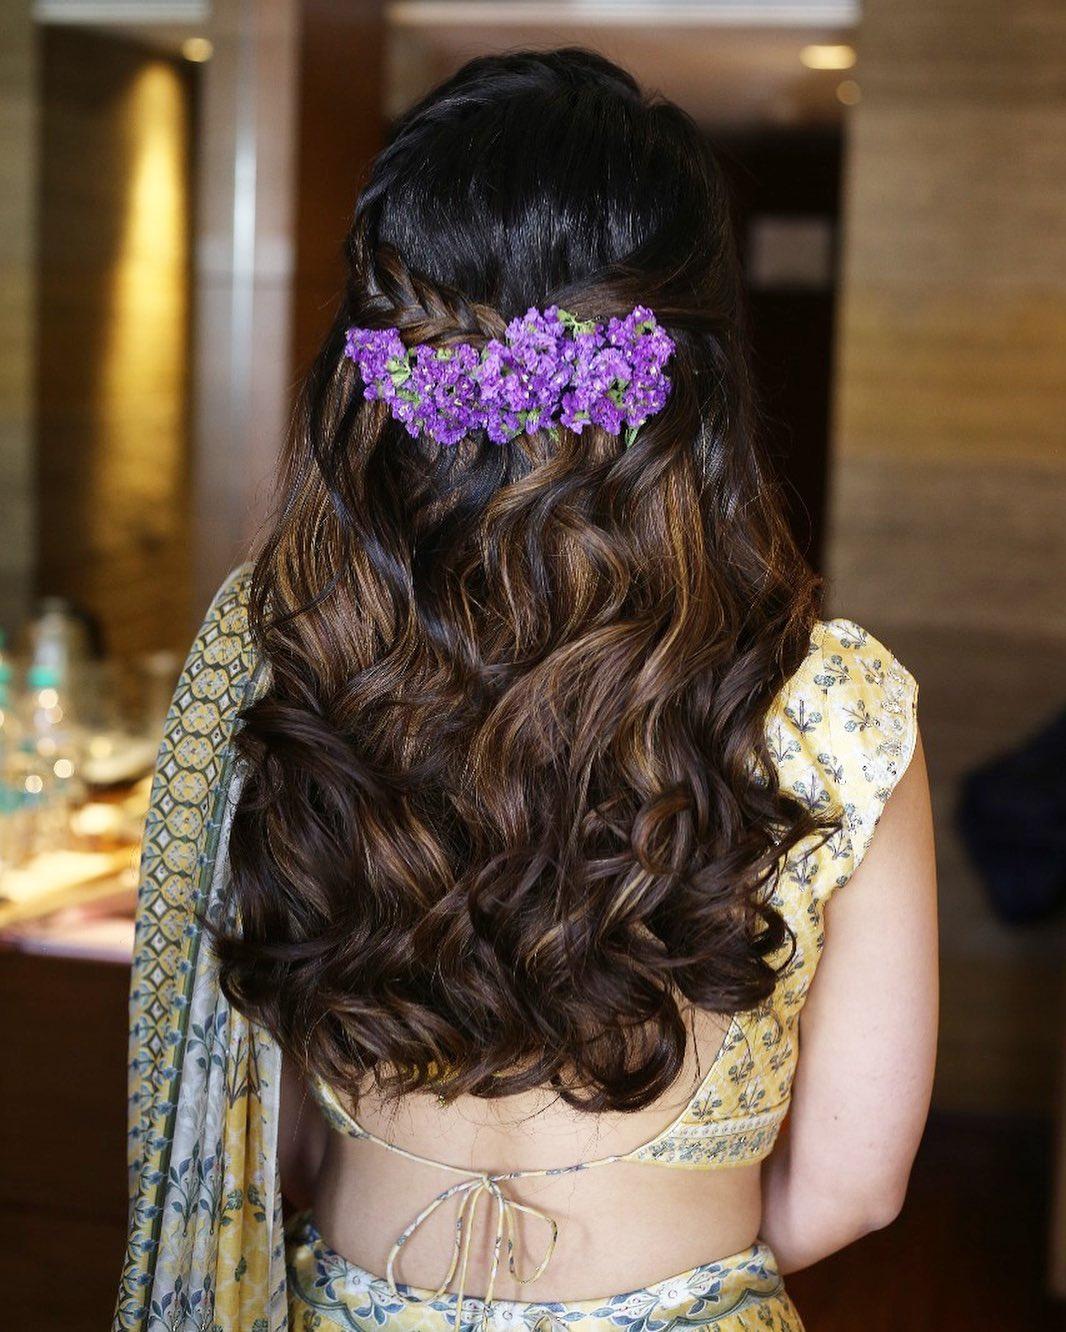
As complex and difficult as this hairdo looks, trust us, it is very simple to make yourself. You just need a little bit of patience and some practice. If you have been styling your hair for some time, this will be a cakewalk for you. And by styling we mean if you know the basics like ironing and curling your hair.
This gorgeous hairstyle is dressy enough for one of your pre-wedding functions or for a post-wedding party, and what could be more exciting than learning a simple hairstyle step by step that you can flaunt at your Shaadi functions, right? This will also come in handy when you have to be a wedding guest and you have no access to a salon for any given reason.
What You Need:
- A styling comb
- Some hairpins
- A curling rod
- Hairspray
- Flowers of your choice (baby breath works wonders but hey, just a suggestion!)
Steps:
- Firstly, make sure that your hair is untangled and smooth. Do not apply any serum or oil before starting this simple hairstyle step by step.
- Take a thin section of your hair from both sides of your hair on the front and clip them aside.
- Divide the remaining hair into wide sections.
- Now, using the curling rod, curl each section of your hair into bouncy, wavy curls.
- Once that’s done, take one thin section that you earlier clipped aside and braid it. Secure the braid at the back of your head. Take the other thin section and carefully pin it just next to the braided section.
- Arrange the flowers in a nice linear manner so that the pins are hidden.
- Now, set the hair with some hairspray if you’re satisfied with how it looks.
Side Twist Hair With Swept Waves
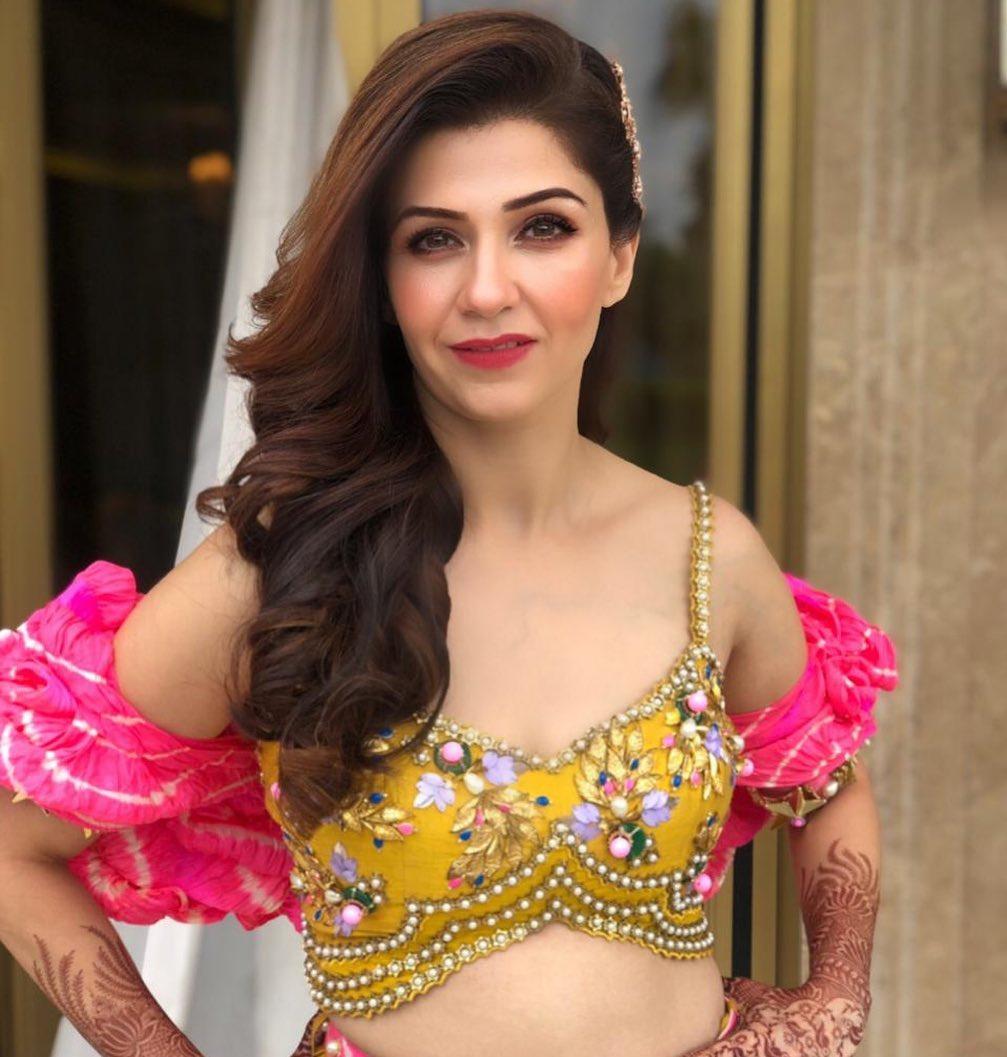
Don’t you get the perfect Arab princess vibes from the stunner in this picture ‘coz we sure do! When looking for a simple hairstyle step by step tutorial, we know that sometimes brides are looking for a hairdo with an edge, one that is unique. This simple hairstyle step by step tutorial solves that purpose. While it looks super complex on first glance, in reality it is very easy to achieve this look. Here’s how.
What You Need:
- A curling rod
- A hair straightener
- Some hairpins
- A hairbrush
- Hairspray
- A hair accessory of your choice (even flowers would do)
Steps:
- First up, make sure your hair is untangled and free of any moisture or oiliness.
- Now, start with teasing your hair a little bit to add some volume to them. Do this step especially if you have thin or less voluminous hair. It can be avoided if your hair already has a bounce to it.
- Next, brush your hair and collect them to one side of your neck.
- Take a section of your hair now and clip it to the other side for later.
- Divide the remaining hair into sections and using the curling rod, curl all the sections into wavy bouncy curls.
- Now unclip the section of hair from the other side and straighten it. If you have naturally straight hair then this step can be avoided.
- Take the straightened section and pin it at the back with the styled hair.
- Adorn the side with your hair accessory or flowers like shown in the picture.
- Apply a generous amount of hairspray to make sure the hairdo sets well and you’re done!
So, these were our 5 simple hairstyle step by step tutorials that we think will suffice for all your pre- and post-wedding functions. You might need a little help from one of your bridesmaids, but hey, we know they’ll happily do it. That’s why they are your bridesmaids, no?
We hope you liked these simple hairstyle step by step tutorials and will put them to use. Do you have any simple hairstyle step by step tips for your fellow readers? If yes, then do drop a helping word in the comments section!

